BUMP: a Chemistry Partner Game
Disclaimer-There may be some links in this post that are affiliate links. This means I will make a small commission if you purchase something using my links, but it is at no cost to you.
How do you find new ideas for your classroom? Do you look through Instagram and Pinterest? Have you ever found a game or activity that looked great, but was in different content area? What about games and activities that are common at the elementary level, but you teach high school chemistry?!
If you are anything like me, some these have applied to you at one time or another. I often scroll through Pinterest in search of ideas, and sometimes-okay maybe a lot of the time-I’ll find ideas that are used in a math class. Since chemistry has a lot of math, I will click on those pins. And I’ll get ideas that I wish I could translate to chemistry. And then my feed is FULL of math ideas lol. I was in search of some engaging activities and games-and I found one in BUMP.
In this post, I am going to explain how to use BUMP in your high school chemistry class. BUMP is a partner game that I found on Pinterest for division in a math class. That particular game used dice and division problems, but I thought I could modify the idea to fit chemistry. If you search BUMP games on Pinterest or TPT, you’ll also likely find elementary level games. But that doesn’t mean that I can’t adapt the game for high school chemistry!
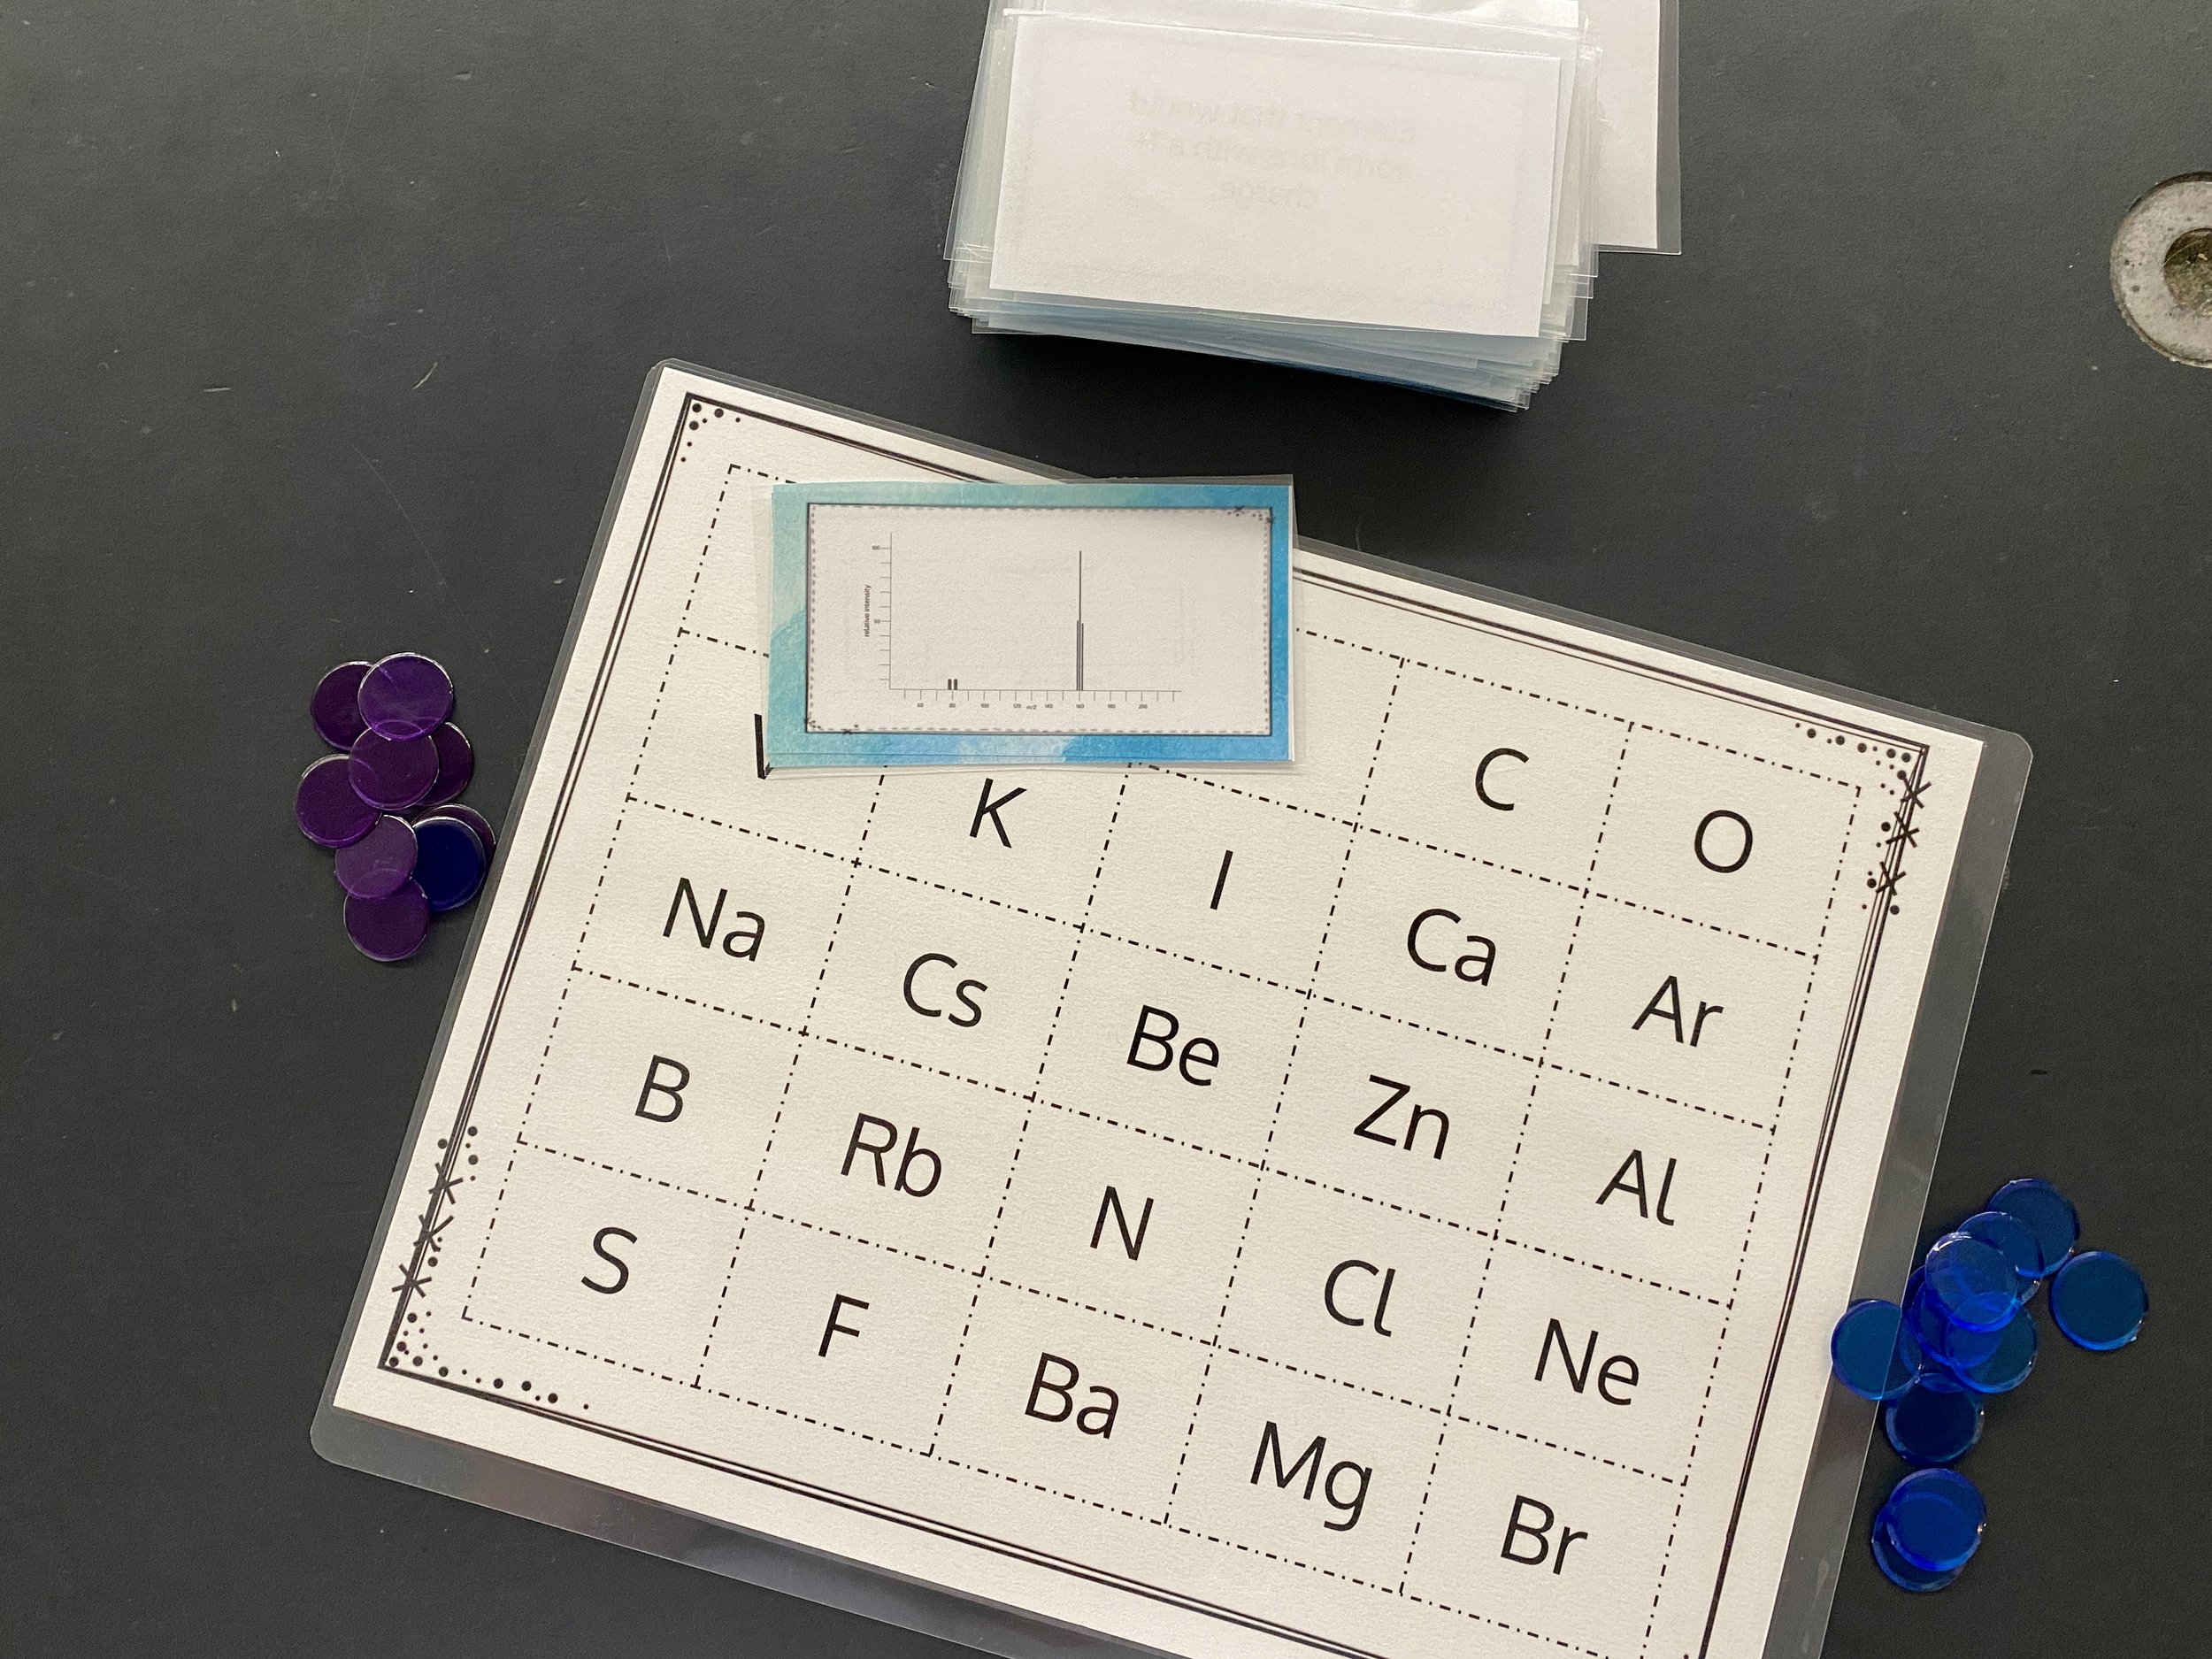
The Game Board.
You’ll need a game board. In most examples I looked at in other content areas, the game board included both the game board and questions/tasks on the same board. I knew I wanted to make a lot of cards, and wanted to have a variety of elements on the game board itself, so I chose to only have elements on my game board. I printed the boards out on cardstock and laminated them for durability.
The Questions/Tasks.
I designed my first Chemistry BUMP partner game for use in Unit 1 in my AP Chemistry classes. I wanted my students to be able to practice identifying elements using a variety of information, including:
electron configuration
short-hand electron configuration
Mass Spectra
PES graphs
unpaired electrons
periodic trends
valence electrons
I might have gone a little overboard…I ended up with 80 cards total! I printed the cards out (on copy paper because I ran out of cardstock lol) and then laminated them. I printed 12 sets in total, so that I would have enough game sets for my students to play the game in pairs. Oh, I also didn’t have enough ink to make them colored on the back, so the back of all my cards are just white. That’s okay though. You win some, you lose some.
Also important to note is that there are multiple clues that could apply to the same element. For example, most elements on the board would have cards with an electron configuration, a shorthand configuration, and a Mass Spec or PES that all applied to that one element; and likely more. The reason for this is so that the players have the ability to “bump” each other, as explained in the rules below.
How to Play BUMP.
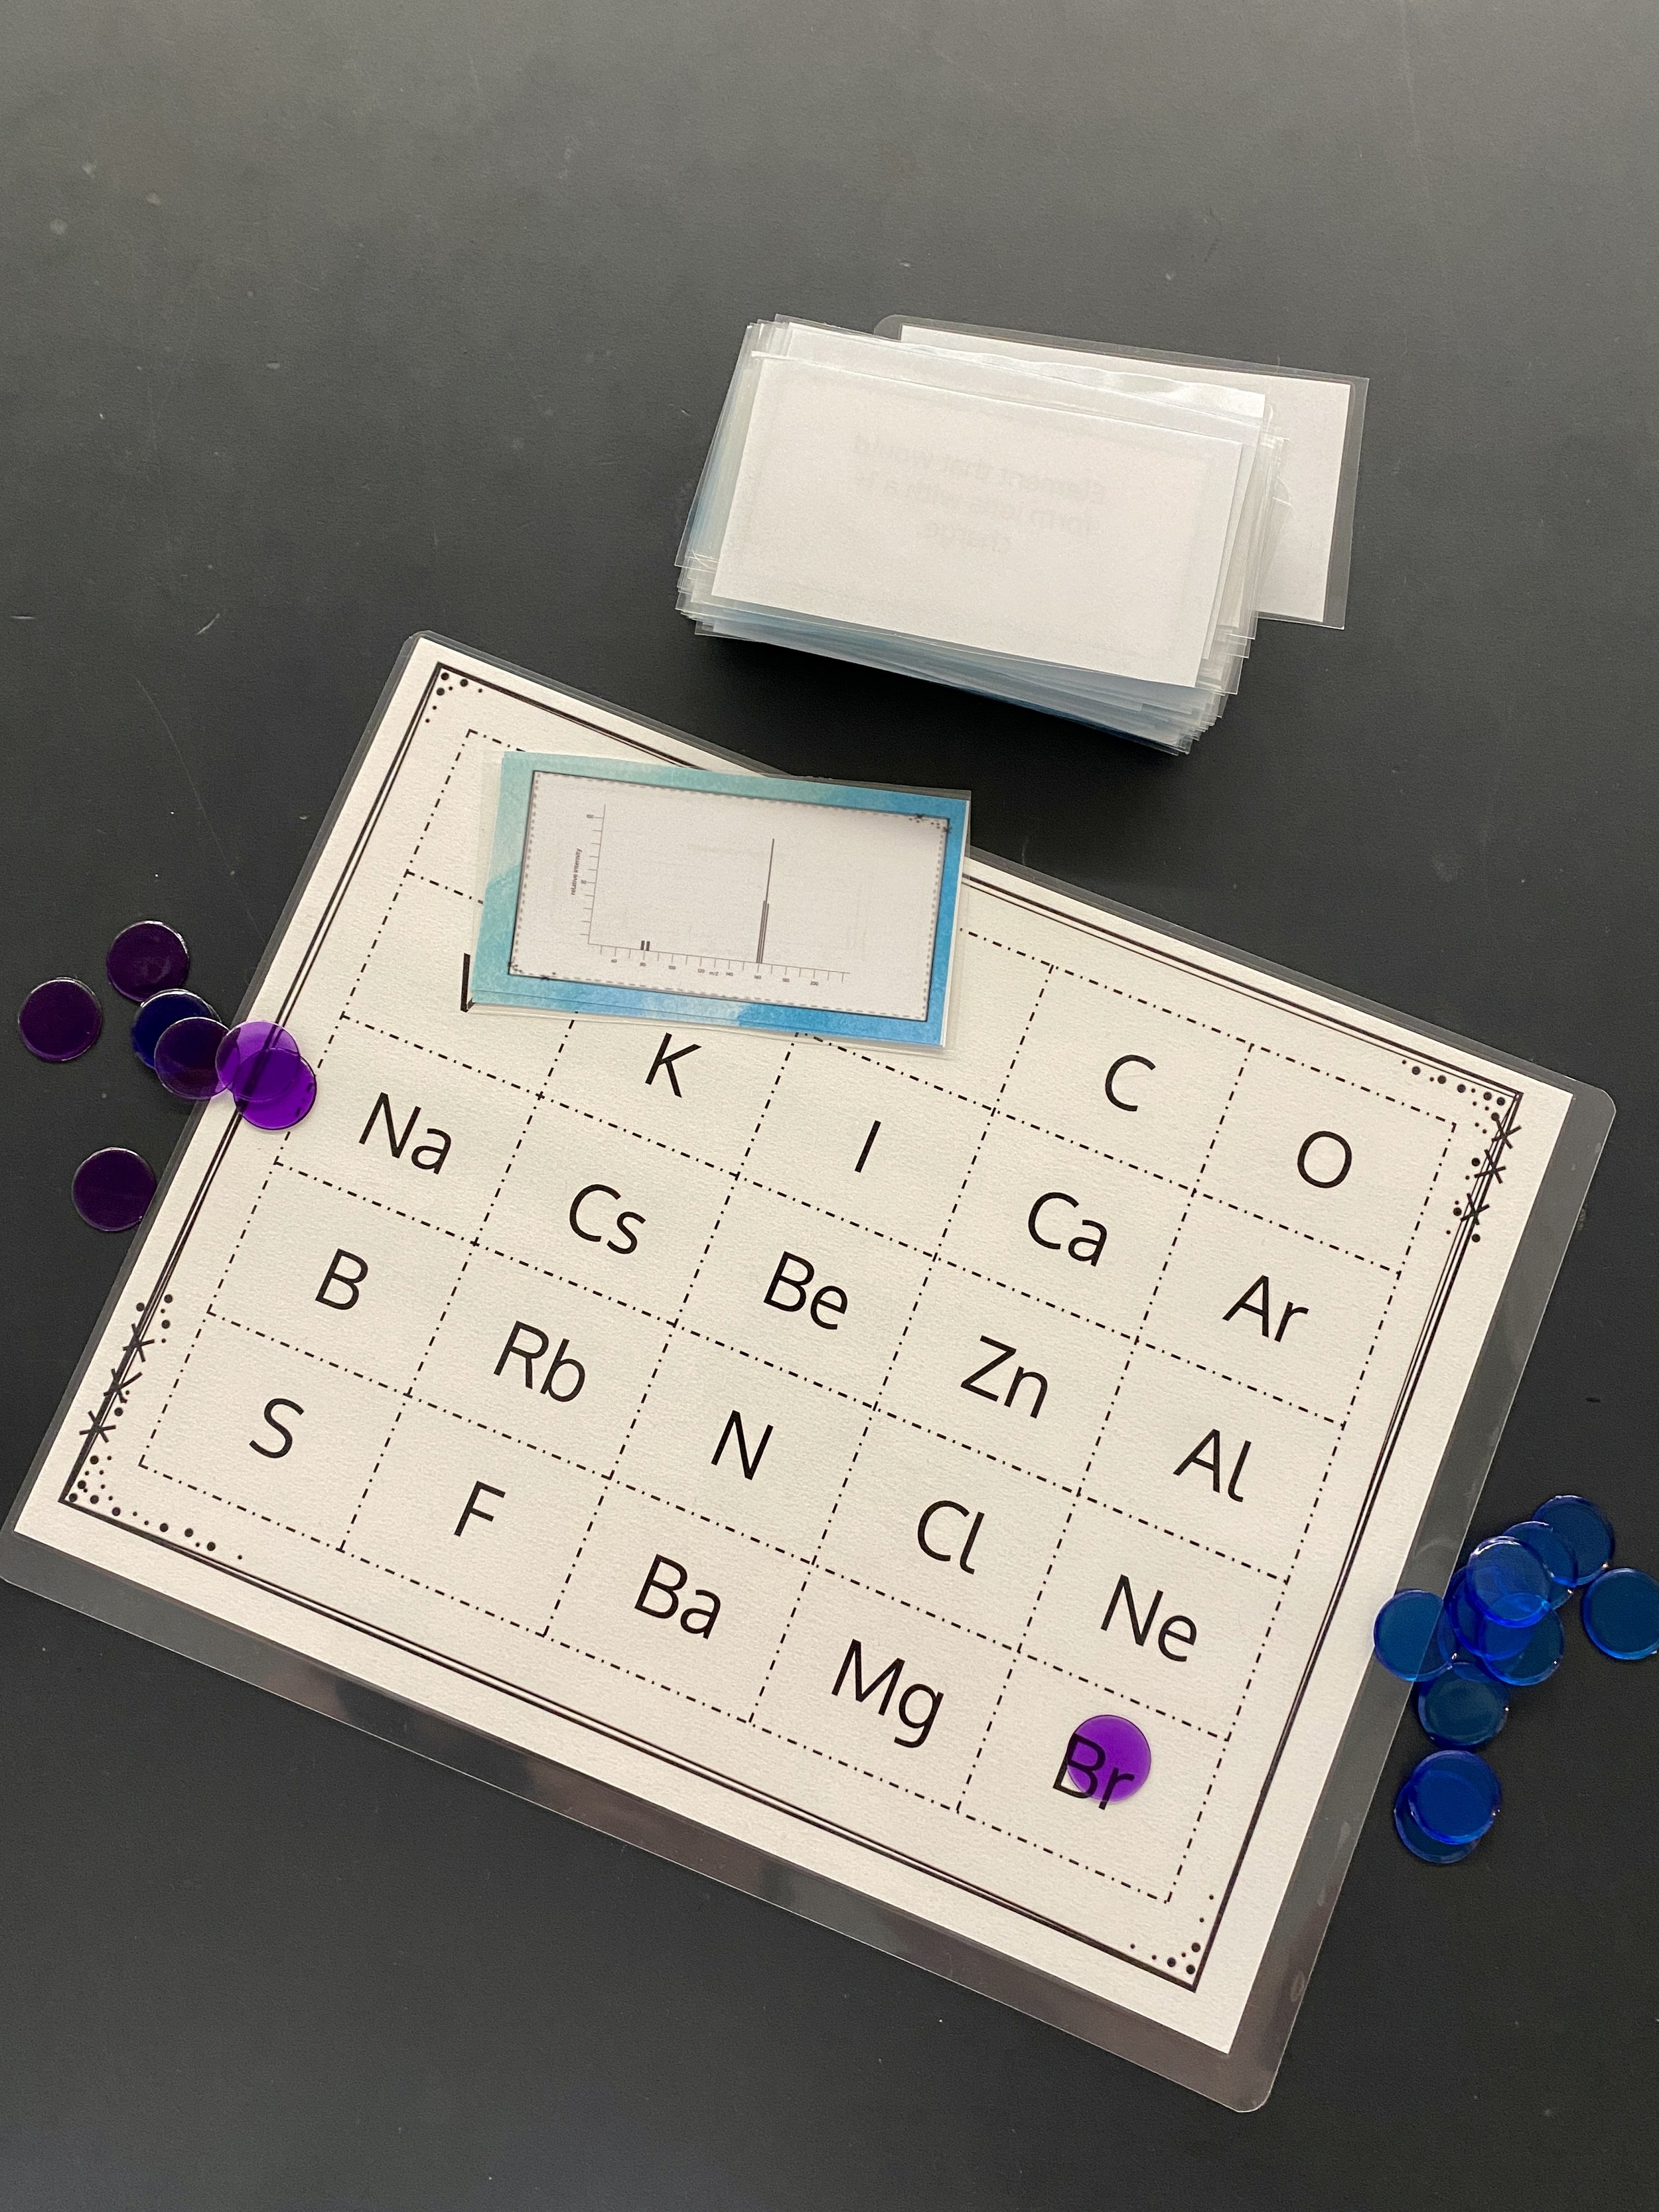
The first player draws a card from the stack. I had the oldest player go first. If the student can successfully identify the element, they get to place their color chip on the square of the corresponding element.
Player two draws a new card. If the card is a different element, they get to place their bingo chip on that element. If the card identifies the same element that player one identified, they get to BUMP the first player out.
If a student gets two chips in a square, they are protected and can not get bumped.
If a student identifies an element that already contains two bingo chips, they do not get to bump and they cannot add their chips to the square.
The game can become one of strategy. If a student got a card that was similar to “an element that forms ions with a 1+ charge,” they might have more than one space to pick from. They could pick a spot that is not yet filled, or potentially bump someone else, as this clue could apply to more than one element.
You can decide how you want the game to finish. You can either have the goal be to get 5 in a row, or for students to fill the board.
Storage.
I made 12 total sets for my class. Each set contains a game board, the question cards, and bingo chips. To store them at a reasonable price, I put each set in one of these mesh A4 bags. The question cards are placed in a 6x6 4 mil closable bag for durability. They are quite a bit thicker than your normal Ziploc bags, so they tend to last a little longer. Bingo chips are also stored in bags similar to the cards, just smaller. All materials are then placed inside the mesh bags.
That’s it.
It’s pretty simple. And it’s fun and engaging. Once you have it set up, you can use it year after year. If you use as many cards a me, it will take a bit of time initially. But once it’s done, you can use it for years! Plus, I plan on using some of the cards for a regular chem level game, so I can repurpose some of the questions and just remove the AP Chem level tasks.

Thanks for reading! I hope you found this post useful, and I would love to know if you use this game in your chemistry class. Reach out on Instagram and show me BUMP in your classroom!

Affiliate Links.
Disclaimer-I make a small commission if you use these links to purchase an item at no cost to you.