
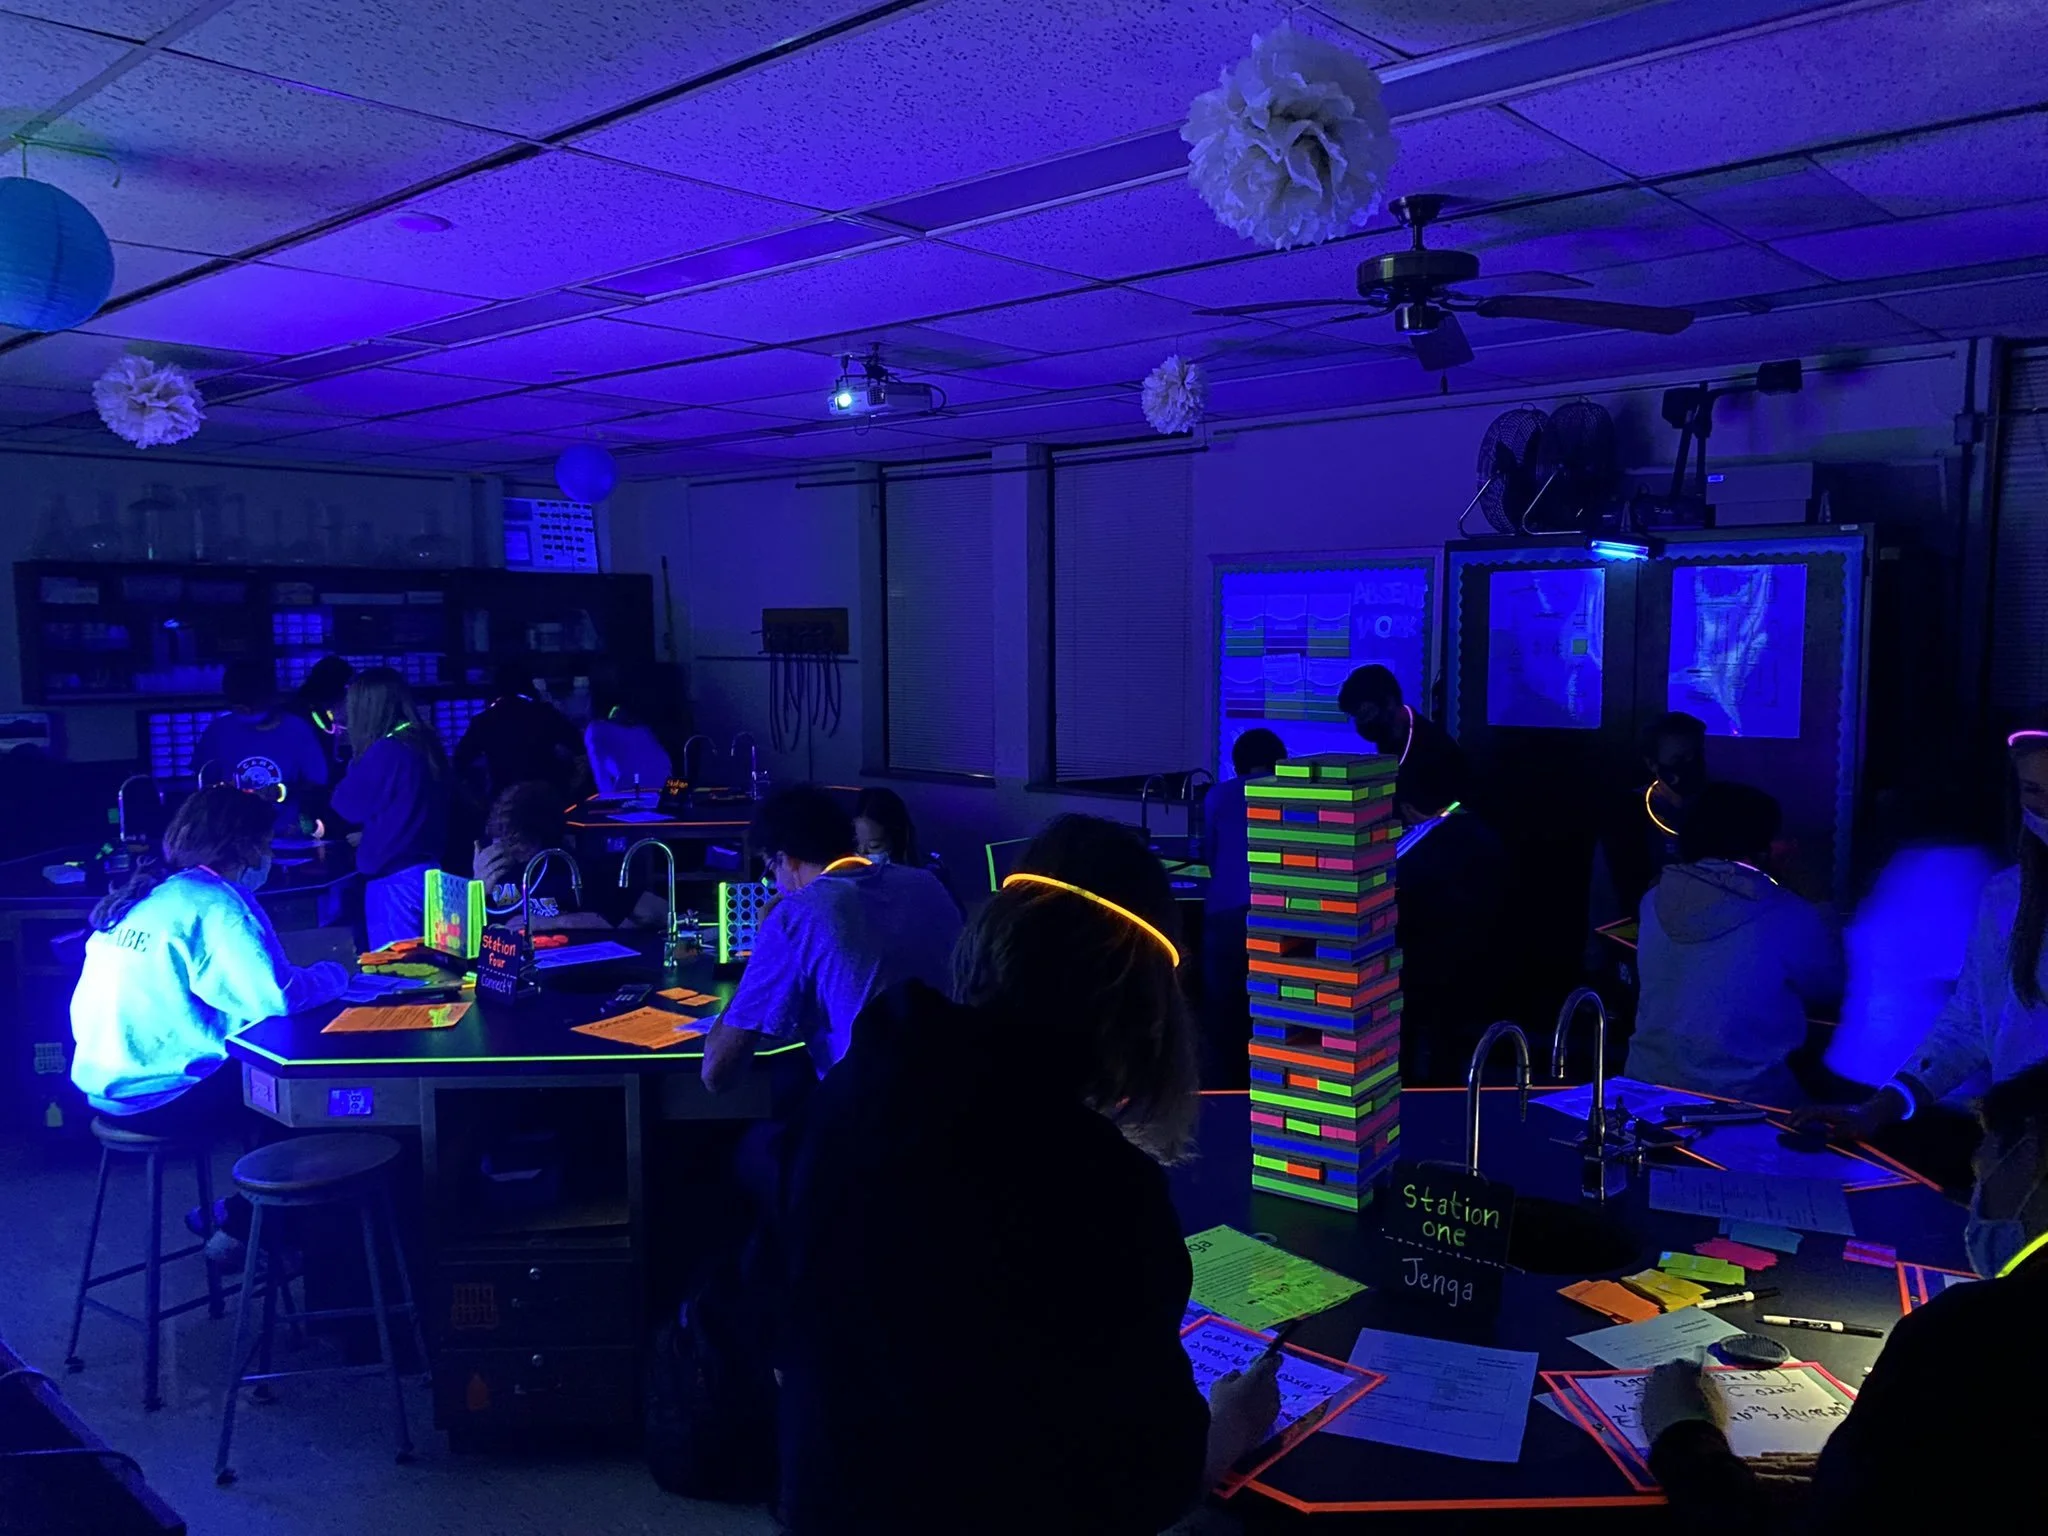
High School Chemistry Glow Games

Giant Jenga with neon tape so that it glows under the backlights.
Glow Games
Disclaimer-Many of the links in this post are affiliate links. This means I will make a small commission if you purchase something using my links, but it is at no cost to you.
The Beginning.
I first saw Glow Games on Instagram with a post by @maniacsinthemiddle. The images from her room just looked so cool. So I read her blog, and then searched for other blogs about Glow Games.
Most of these blog posts were for elementary school classrooms. There was simply not much out there for the high school level. Don’t get me wrong-I learned a lot from those blog posts. What kind of games are possible in Glow Games? What kinds of activities and tasks can students complete with Glow Games? Where could I find supplies for the Glow Games? But I really wanted to do this with my high school students. And as Josie (@maniacsinthemiddle) said, “it can be done for ANY content, subject, or grade level.” I agree 1000%. So I did it.
An Overview.
Because there was nothing out there that I could find about the Glow Games and high school chemistry, I started by thinking about what unit I wanted to incorporate into the Glow Games. Our unit on Electrons and Periodicity seemed like a perfect fit. After all, we talk about how light gets produced during this unit. And the Glow Games is all about the blacklights!
After I picked the unit I wanted to incorporate, I started making task cards for each station. I knew I wanted about 6 stations total (I have 6 lab tables in my room). The students could travel from station to station as a table. I have block scheduling, so classes are 90 minutes each. After getting in, explaining the set-up and settling in, groups had about 12 minutes at each station. Approximately.
Room Preparation.
The first thing you need to do is get your classroom dark enough for the Glow to work. This is honestly probably the part that was the most strenuous and time consuming. I did this by myself…it was quite the workout lol. I used black butcher paper to cover my windows, and tapes the paper to the windows and the area immediately around the windows. I used paper I already had in my classroom, but you can find some on Amazon or you can also use black tablecloths to cover your windows. A heavier duty table cloth can be stored and used year after year.
Once your room is dark, the next thing you need to do is get the blacklights! I purchased these blacklights from Amazon. They are a little pricey, but they can be sued again and again. You could also use the lights in other lessons, or other teachers may find a use for them in their lessons. I purchased 2 originally. As I have a chemistry lab room, my space is a little larger, and I wished I would have had 1or 2 more. I will add to my collection of black lights this year so that I can get more of that glow. You just need to set the lights somewhere (floor, table) and point it towards stations so that you get the glow!
Just for fun, I added a strip of neon tape around the edge of all my lab tables. This added more glow to the room and was a nice touch. It really has no purpose. It’s just cool.
Then you will need to set up your stations. Put out your games, instructions, task cards, and any other supplies as needed. I recommend printing the task cards and instructions on neon astrobright paper. They will glow under the blacklights and be easier to see in the dark. For more details about each game, keep reading below.

Introducing the Lesson.
You can make a sign with neon paint and black paper to post in your classroom. I choose to make a slide in Google Slides that I could project on the front screen. Slides Mania has a great tutorial on how to get the neon effect. I projected the slide and students saw this as they entered the room. A lot of other blogs on Glow Games mention giving students an invitation so they know ahead of time to wear certain clothes, etc. I skipped this and just projected this slide.
Before the class (and during passing periods), I closed the door and stood out in the hallway. This way, students could not see the room. I greeted all students and would welcome them to the Glow Games. I told each student that they could pick up a few glow sticks from the front lab table once they got in the room. There is no purpose to this-it’s just more fun! I got a 300 pack of glow sticks from Amazon and it was more than enough for the approximately 60 students I had in three class periods.
Once the bell rang and everyone was settled, I changed my slideshow to the next slide, which had the rotation displayed. Students knew which station to start at, and where to move when the time at the current station was up. During play, I played music to add to the vibe.

Chemistry Glow Games on TPT.
You can make all of the task cards, instructions, and games for your own classroom. But if you want to save some time, check out my Chemistry Glow Games for high school chemistry in my Teachers Pay Teachers Store.
The product comes with instructions and printables for 6 different stations/games. You will also get a slideshow with the welcome slide and the rotation slides, along with an editable slideshow with all the instructions in case you need to modify the instructions or game type to fit the materials you have.
The Games.
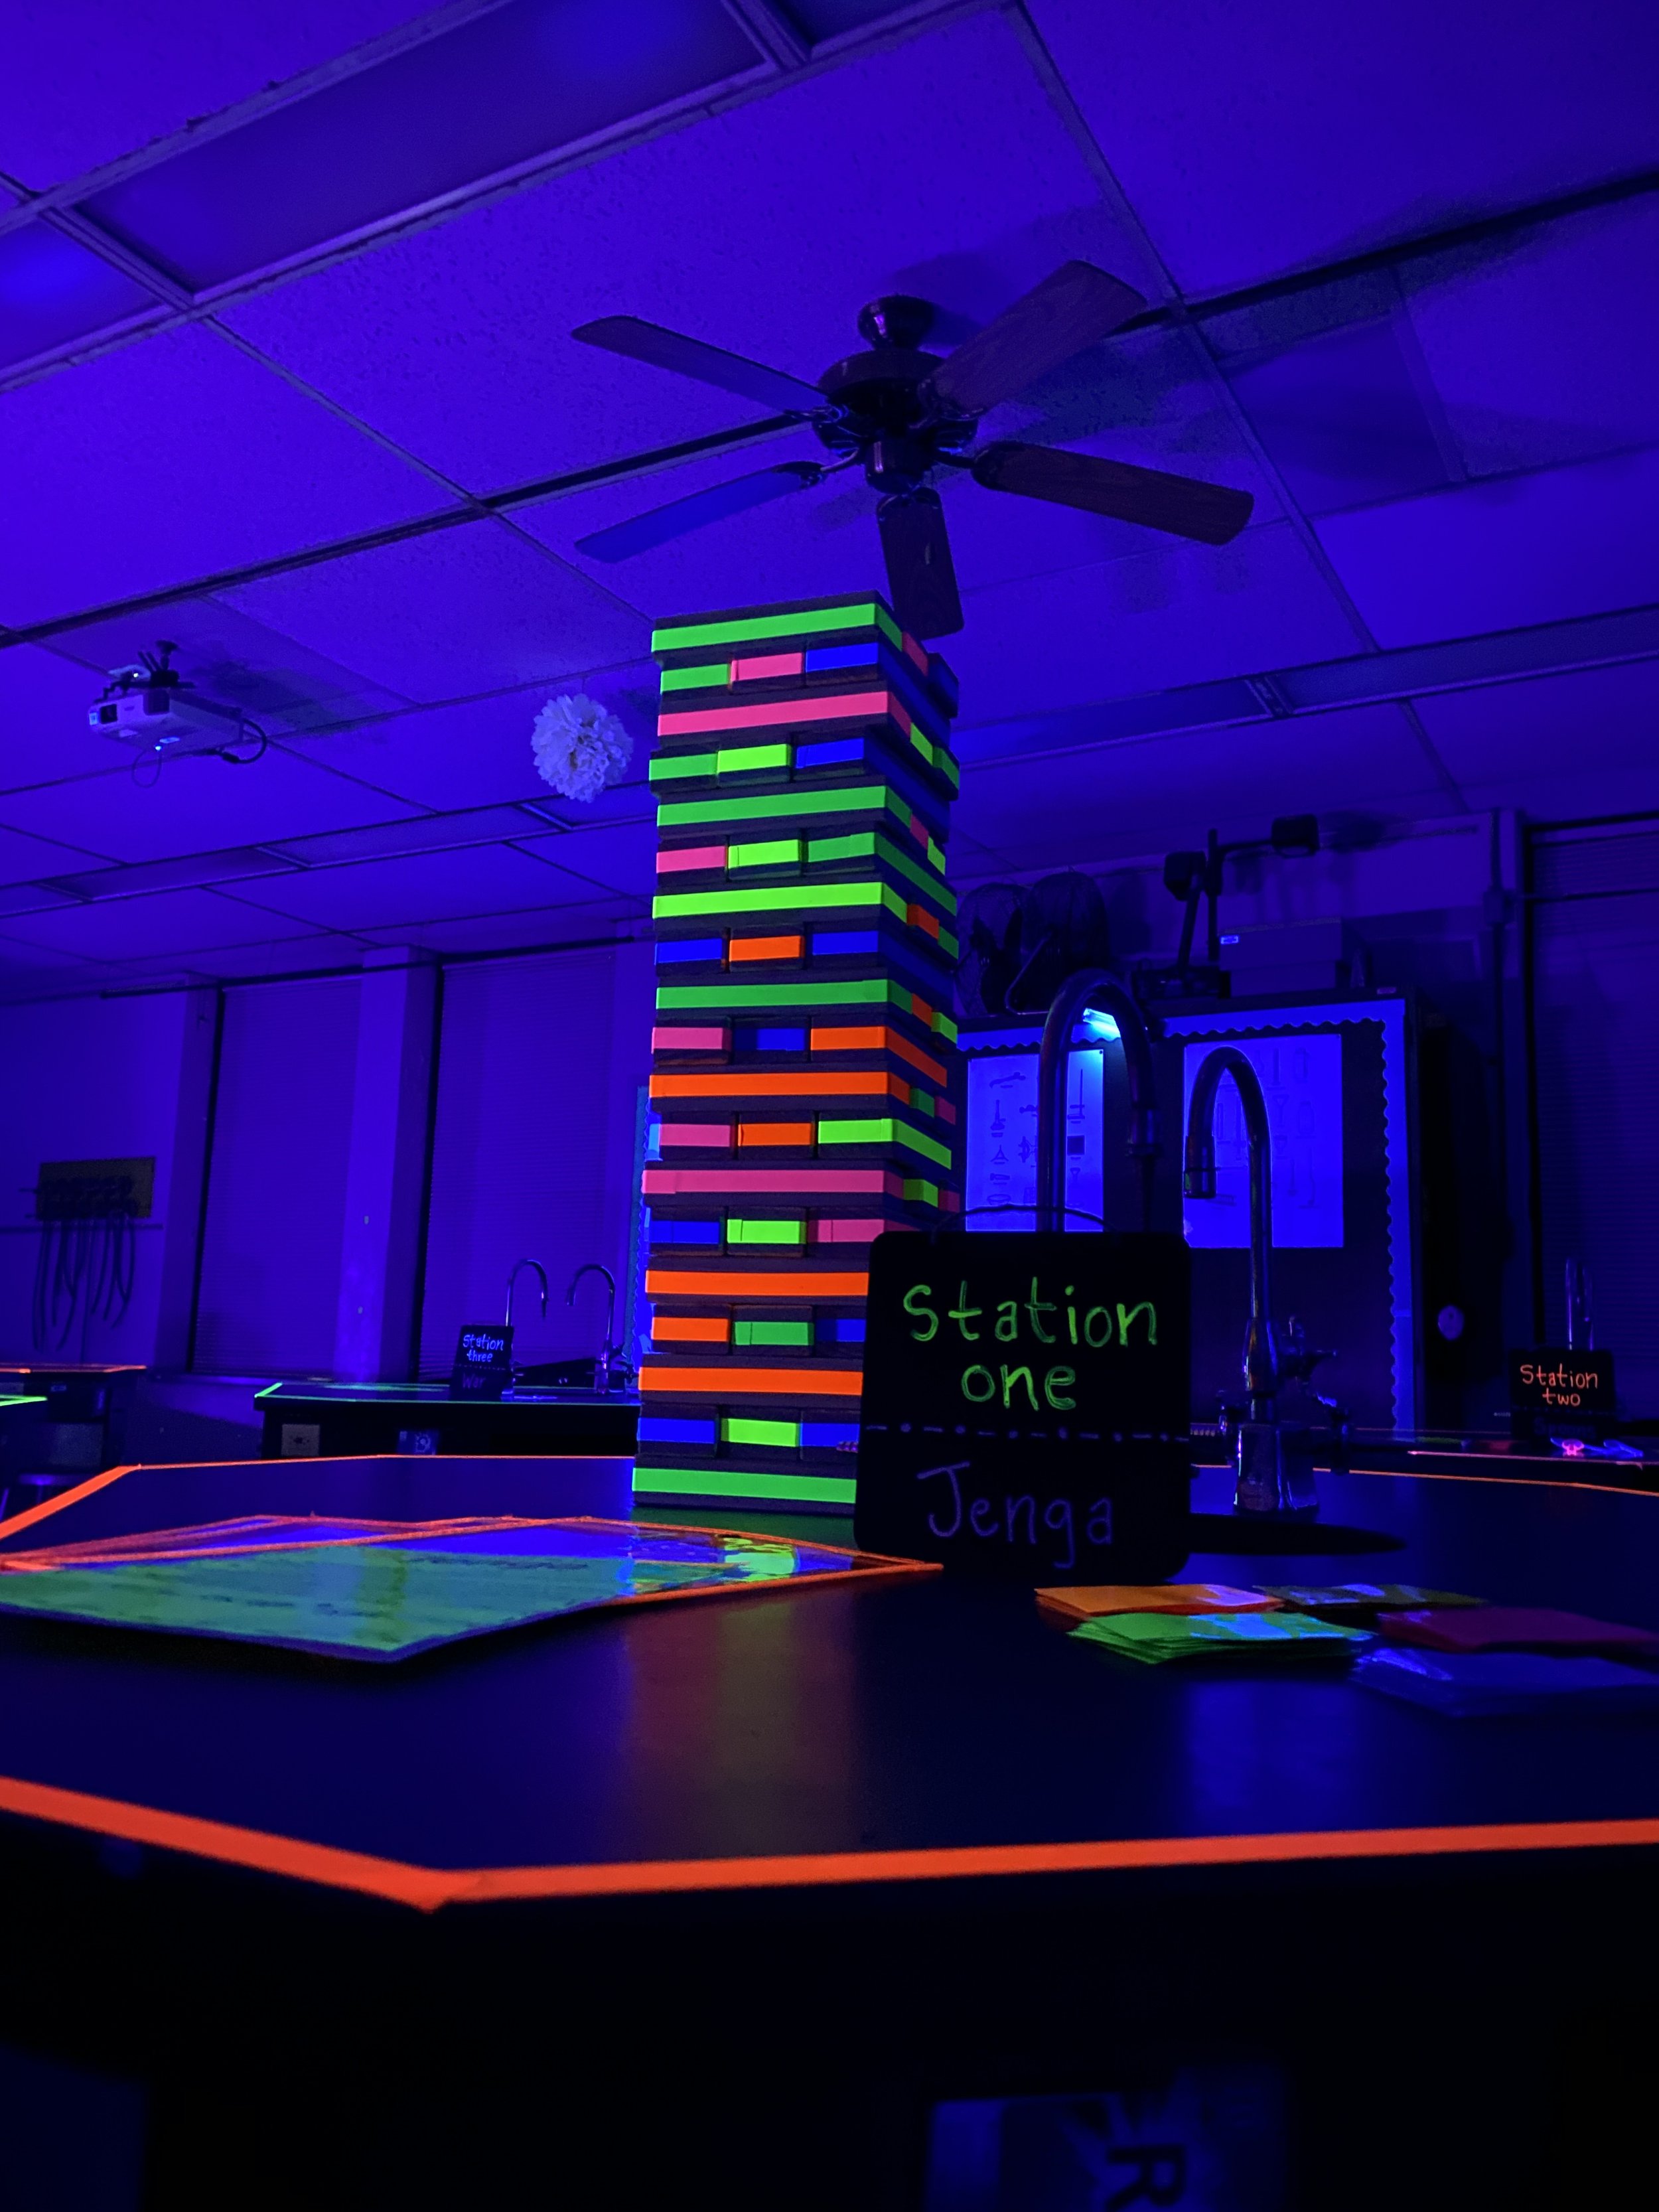
Jenga.
I purchased a giant Jenga set from Amazon, and wrapped each block with neon tape, which was also from Amazon.
You will see that there are 5 colors on the Jenga blocks (pink, blue, green, orange, and yellow). I printed my task cards to correspond. In other words, some task cards were printed on pink paper, some on blue, some on green, some on yellow, and some on orange. The student would decide which block they wanted to pull. If they chose a blue block, then they would pick up a blue task card.
This station included task cards that were calculations based. Students had to perform wave equation calculations, so I also put a dry erase board and dry erase markers at this station. You’ll notice my dry erase “boards” are really shop ticket holders. Those neon shop ticket holders really glow well under the blacklights.
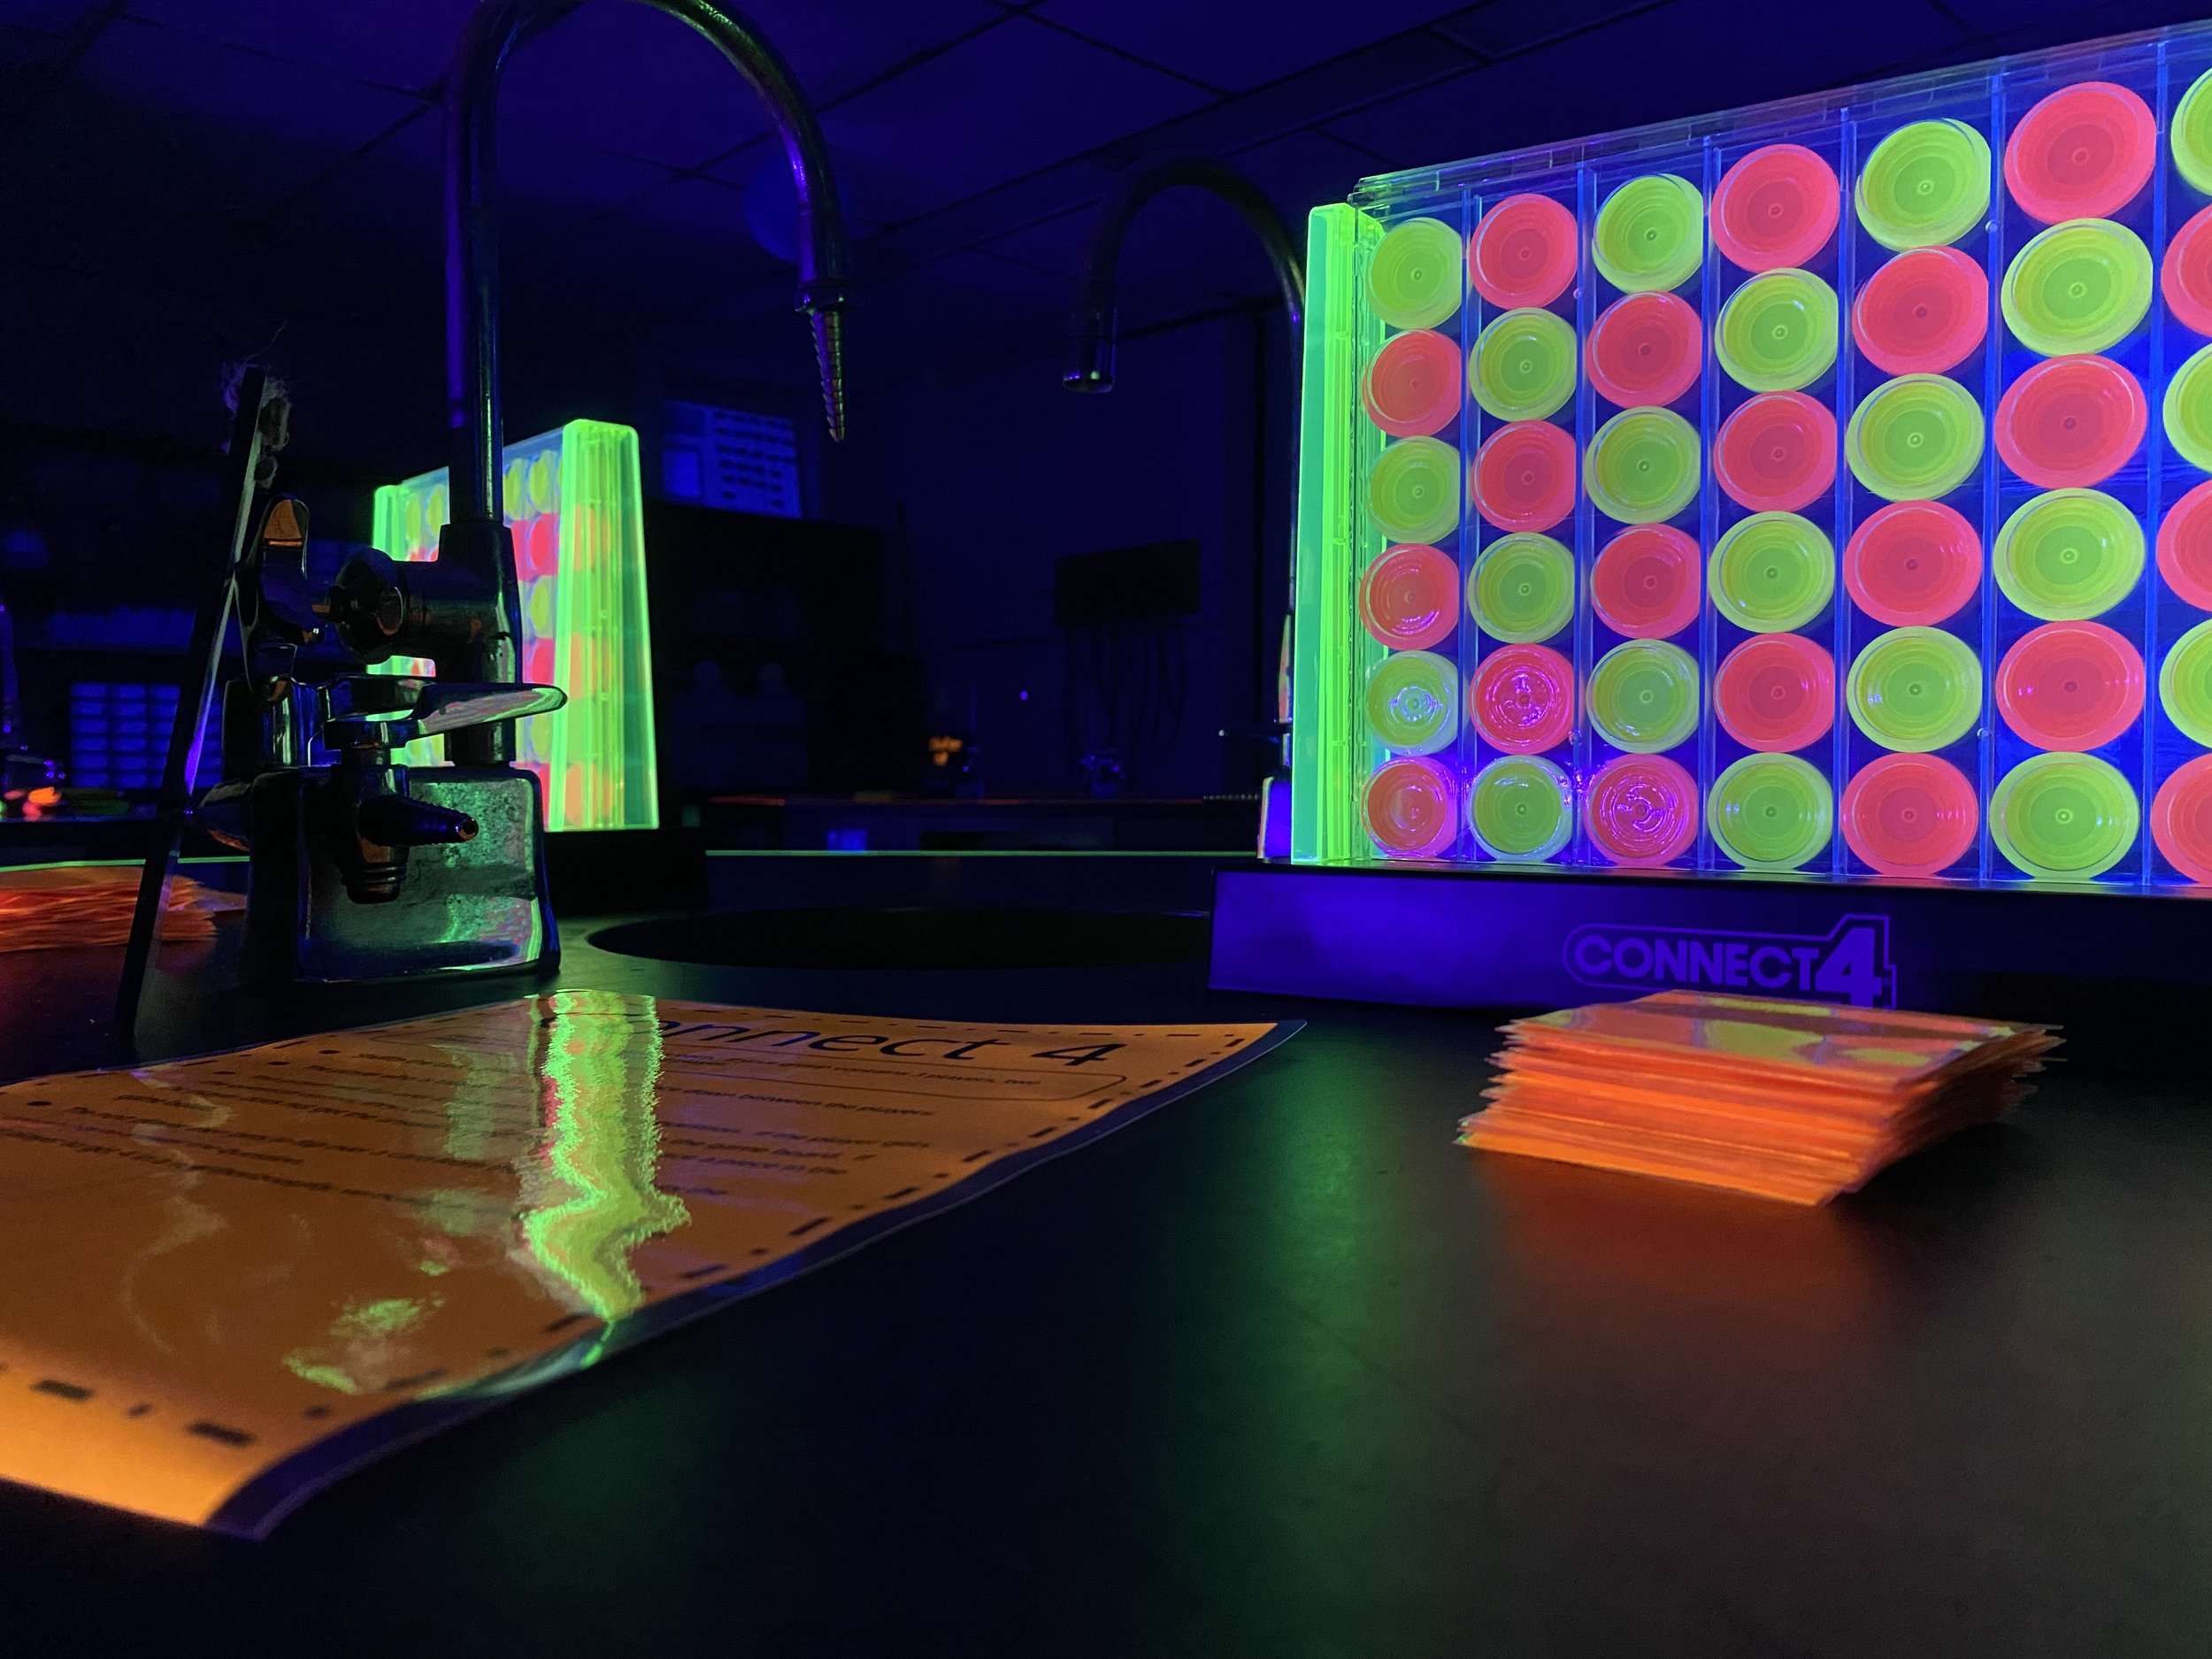
Connect 4.
This station included connect four. I really wanted a giant Connect Four, but those can be expensive. If you find them at the end of summer, you can get a good deal. But I was looking in the fall, and they were all really expensive. Instead, I chose to get small sets that were neon colored. I got two of them and set up one on each side of the table. This way, if a group was a group of 4, I could have smaller groups when they played at this station. For example, I had groups of 4 split into groups of 2 at this station. Therefore, one student was playing another, and there was not an extra teammate hanging out doing nothing. If you only get one set, you could play 2 against 2.
If you get a giant Connect Four, you can put neon post-its on the pieces to help them glow. Or you can paint the chips with neon paint to make them glow.

Cornhole.
One of the stations was cornhole. I had students play 2 against 2 (if they were a group of 4). There are a lot of options for setting up the cornhole. If you get a regular cornhole board, you can add neon tape to the board to make it glow. You can also purchase ring lights that are specifically made for the purpose of fitting in a cornhole board. Cornhole boards are another of those games that can be quite expensive. Because of this, I did not get a regular size set. The travel size (or junior size) games are more affordable. I purchased this one that came with lights already.

Periodic Trends WAR.
For this game, you will need elements on cards. You can type and print them out or write them on blank playing cards. I usually stick to the main block elements.
For the Glow Games, I purchased black blank playing cards. I wrote on the cards with chalk markers. I picked colors that were bright enough to glow under the blacklights. I then laminated the cards.
I also make a spinner for this game. The spinner has categories like “largest atomic radius.” As in WAR, students will flip over their top card. They will spin the wheel, and they will compare the cards to see who wins. For example, if the wheel spin landed on “Largest Atomic Radius,” whichever card had the largest atomic radius would be the winner. That student would get to keep those cards and add them to the bottom of their stack. If the students pull a pair that they just cannot decide on (catty-corner for example), then I tell them to go to WAR and flip over the next top card. They would continue until they can make a decision, and the winner gets all the cards.
You could make a digital spinner and put it on a device at the station. I personally got blank spinners from Amazon. I printed out a wheel on sticker paper and cut it out with my Cricut using print and cut. Since it was sticker paper, I could attach the wheel to the blank spinner. I also covered the wheel with protective vinyl to make them last longer. But if you are not that crafty or extra like me-you could just write the terms on a wheel.
This was another station where I set up two sets. That way if a group of 4 was at the station, I could have 2 games of 1 vs. 1 going at the same time ( as opposed to 2 teams of 2).
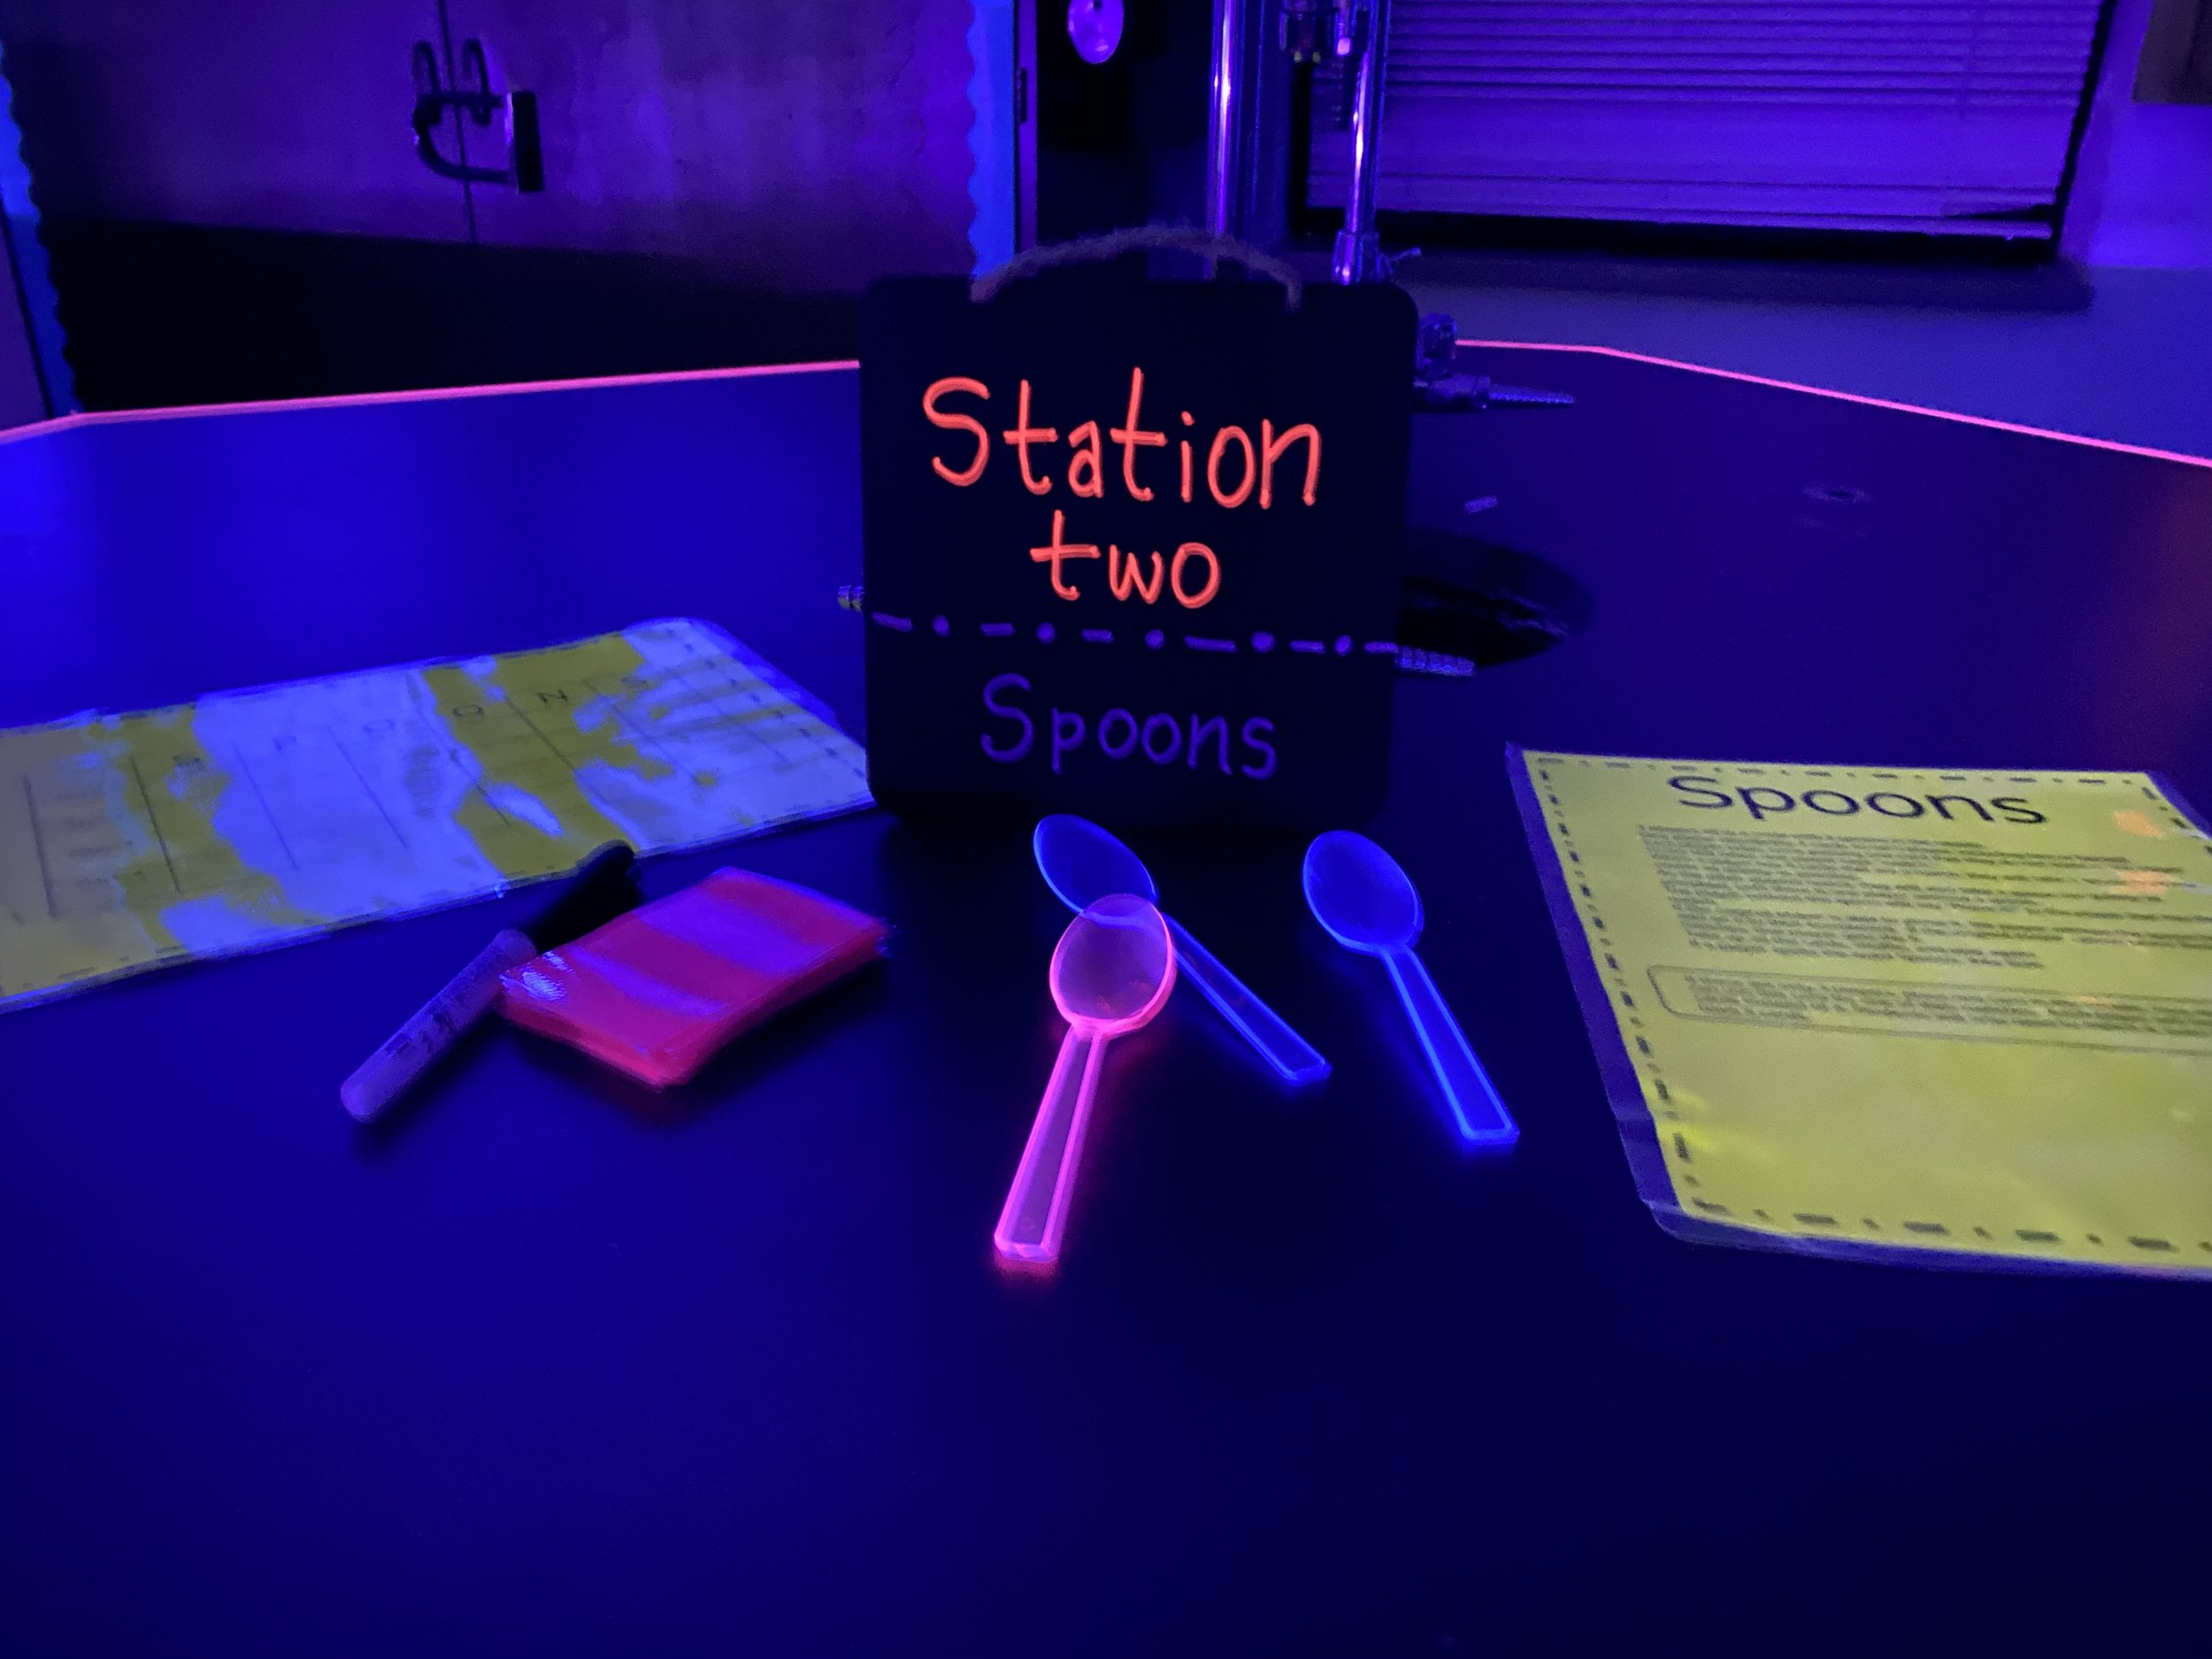
Spoons.
This is similar to spoons with regular cards, in that you will try and get a set. But in this case, I made a set of cards that fit certain categories. I made the categories: alkali metals, alkaline earth metals, transition metals, and halogens. The students would attempt to collect all the cards that fit into a certain category. The set-up for this station was pretty simple. The station has the instructions, a scoresheet to keep score, a dry erase marker for the scoresheet, and neon spoons. If you can’t find neon spoons, you could wrap spoons in neon tape or paint them with neon paint.
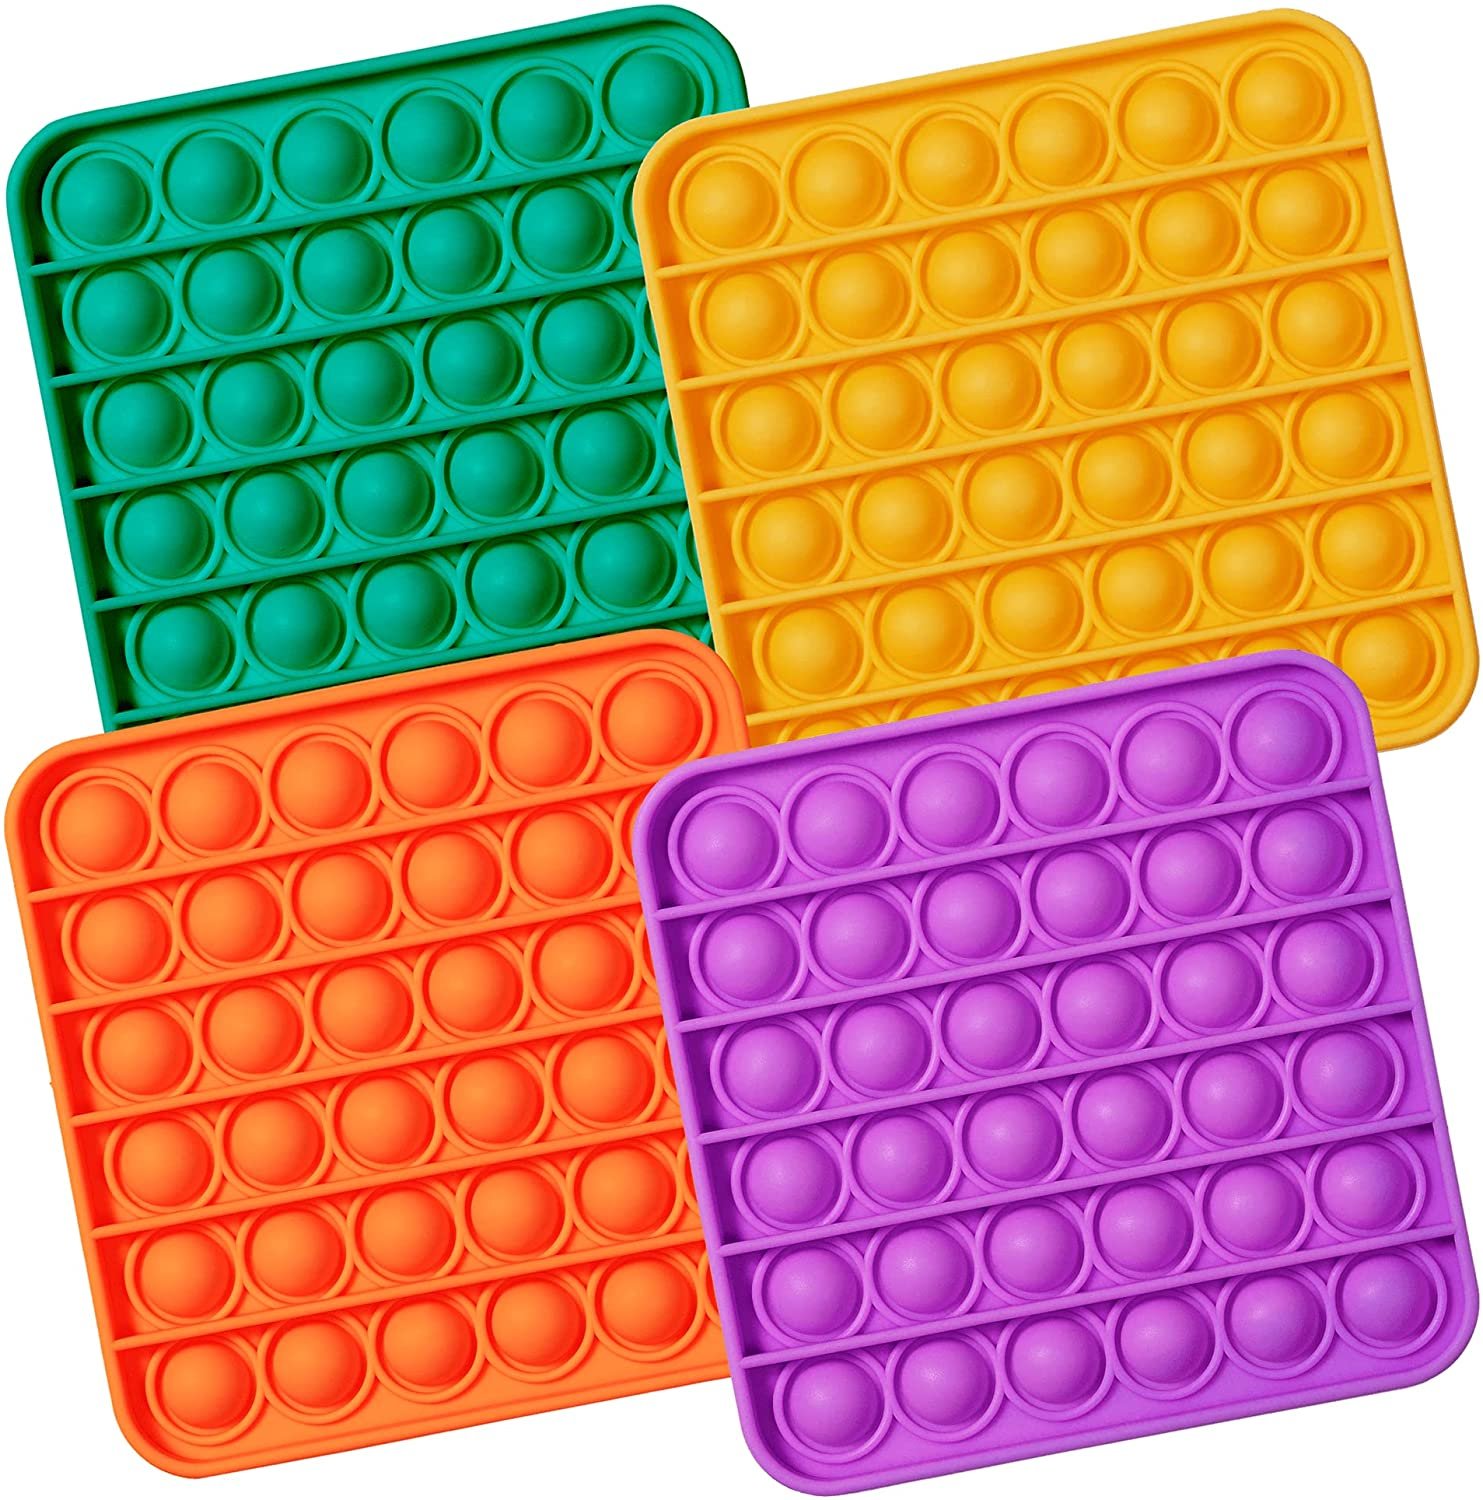
Pop-its.
At this station, I put pop-its on the table. I put four, so that the students could play 1 on 1 (as opposed to 2 teams of 2 playing each other). Each individual player would have a pop-it toy. I included task cards at the station, along with chalk markers. One player would pull a task card and both players would perform the task. Each task was something they could write or draw (electron configurations, orbital diagrams, etc.). Both players would write their answer on the lab table with their chalk markers. If the original player who drew the card was correct, they got to pop a bubble on their card. Play would continue back and worth, with the player popping the most bubbles being the winner. I purchased these pop toys from Amazon. Some of the colors worked better under the blacklight than others. You could also buy a game-board type pop toy and all 4 players could play at the same time.
Cost.
Let’s be real. This can get really expensive. I would not have been able to do this without parent support, borrowing items, and/or purchasing items myself. A lot of these games could be used for other activities throughout the year, and as they are reusable, I have considered a lot of this an investment. But it is pricey. Here are some tips on how to keep the cost down:
Only start with one or two games and add to your collection from year to year!
Add items to your Amazon wishlist. Friends and parents may then donate items from your wishlist to you!
Do this transformation in conjunction with another teacher! If you and another teacher both want to do it, you can split the cost.
Borrow games from other people!
Search for items on Facebook marketplace and other second-hand merchants!
Create a Donors Choose list for items.
Questions?
Use the “Contact” page to send me a message or email me at rebecca.unbrokenbond@gmail.com. Connect with me on Instagram (@unbroken_bond) and show me how you are implementing Glow Games in your classroom!
Thanks for reading!
Becca
Affiliate Links.
Disclaimer-I make a small commission if you use these links to purchase an item at no cost to you. Some of these links may be additional suggestions that I did not use, but that could be good for Glow Games.


