DIY Spinner Wheels for Chemistry Classroom Games
Engaging students in the chemistry classroom can be as fun as it is educational, especially when you introduce interactive games. One tool that brings versatility and excitement is the use of a spinner wheel! Whether you’re reviewing material, conducting group activities, or playing chemistry-themed games, spinner wheels can keep students engaged while adding a touch of unpredictability.
Here’s how you can DIY your own spinner wheels using blank spinners, allowing you to customize them to your teaching needs.
Sharpie
If you’re looking for a quick, no-fuss solution, grab some colorful Sharpies! You can divide the sections of the spinner wheel and write your chemistry-related prompts directly on the blank surface. For example, label each section with:
Atomic Properties (most protons, fewest electrons, highest mass number, etc.)
Periodic Trends (highest atomic radius, lowest ionization energy, etc.)
Ions (Cl⁻, Na⁺, SO₄²⁻)
This method is perfect if you want to quickly create a spinner wheel for an activity or game. It also doesn’t require a lot of supplies-just a Sharpie and some spinner wheels.
Print and Glue
For a more polished look, consider designing your spinner wheels digitally. Here’s how:
Design: Using a program like Google Slides or Canva, create a wheel with distinct sections and your desired chemistry-related content.
Print: Print the design on regular paper or cardstock.
Glue: Cut the printed wheel out and glue it onto the spinner.
This method works great if you want to prepare multiple spinners for different activities ahead of time. It allows for clean designs and more space for information than writing by hand.
Pro Tip: Laminate your printed spinner before gluing it on for added durability!
Print Then Cut
Want to take your spinner to the next level? Use the Print Then Cut feature on a Cricut or similar machine to print your designs on sticker paper and cut them perfectly to size. Here’s how to do it:
Design: Create your spinner in a design software of your choice (Canva or Cricut Design Space work well).
Print: Print the design on printable sticker paper.
Cut: Use your cutting machine to cut out the spinner shape.
Stick: Peel off the backing and stick your perfectly sized design onto the spinner!
This option is great for making professional-looking spinners, and the sticker paper makes it easy to apply.
Bonus Tips:
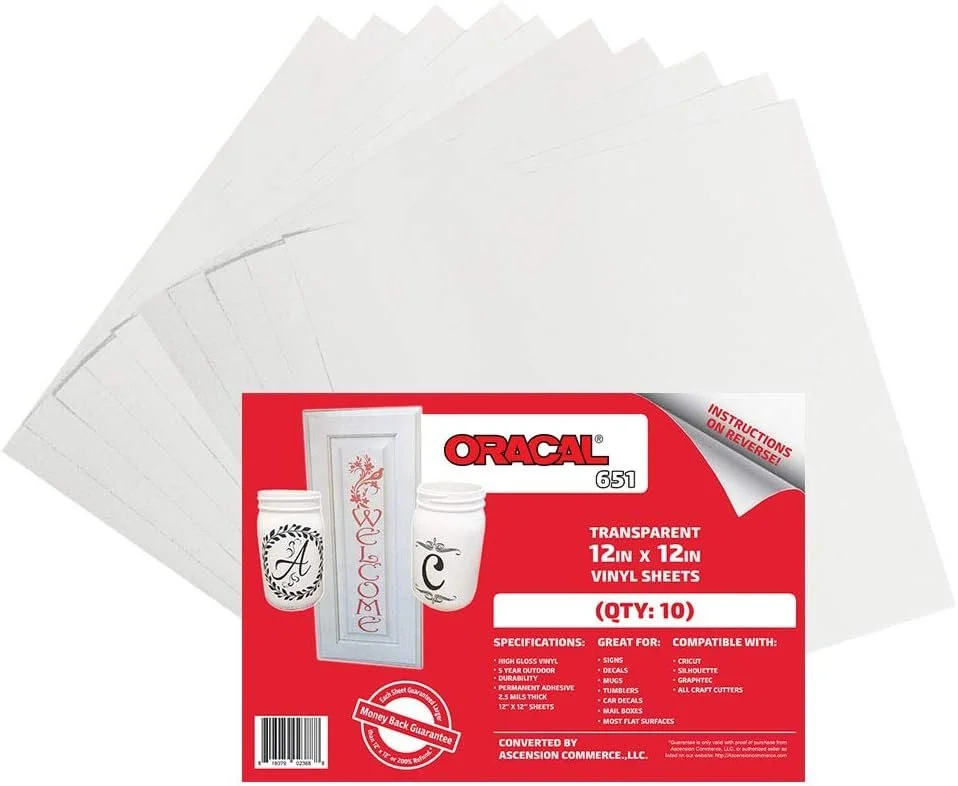
Use your machine to also cut out a clear vinyl for a protective coating that will help your spinner wheels last.
You can color-code different spinners for various topics—like green for stoichiometry, blue for periodic trends, etc.!
With a little creativity, DIY spinner wheels can become a dynamic teaching tool in your chemistry classroom. Whether you’re doing a quick review, playing an educational game, or facilitating a group activity, these custom spinners add an interactive element that keeps students engaged and learning! Happy spinning!
Affiliate Links.
Disclaimer-I make a small commission if you use these links to purchase an item at no cost to you.


