
Teacher Toolbox DIY for the Chemistry Classroom
I don’t know about you, but summer is really flying by. Ahhh! I go back in a little over a month. As we get closer to starting back, one of the things I had on my to-do list is a teacher toolbox. Except I wanted a teacher toolbox that my students could access. If I had another question about if I had any tape, or an index card, or any of the other numerous things students seem to need…so I’m making a teacher toolbox, but for students. When they need something, they can just head to the toolbox.

There are so many little things that can take up so much space in the classroom. A toolbox is a great solution for giving all of those items a home. So I bought a toolbox and started creating my labels. You can get one on Amazon right here! You can also find them at Lowes, Home Depot, and other hardware stores.
Here’s what you need and what you need to do to make one of these organization must-haves for your own classroom!
Teacher Toolbox Materials
Toolbox. The 26 drawer toolbox will come with both large and small drawers, but there are tons of sizes and options available. I actually use this 24 drawer unit for task card and other activities storage.
Spray paint (optional). If you want to paint the unit to match your classroom decor, grab a can of spray paint.
Teacher Toolbox Labels.
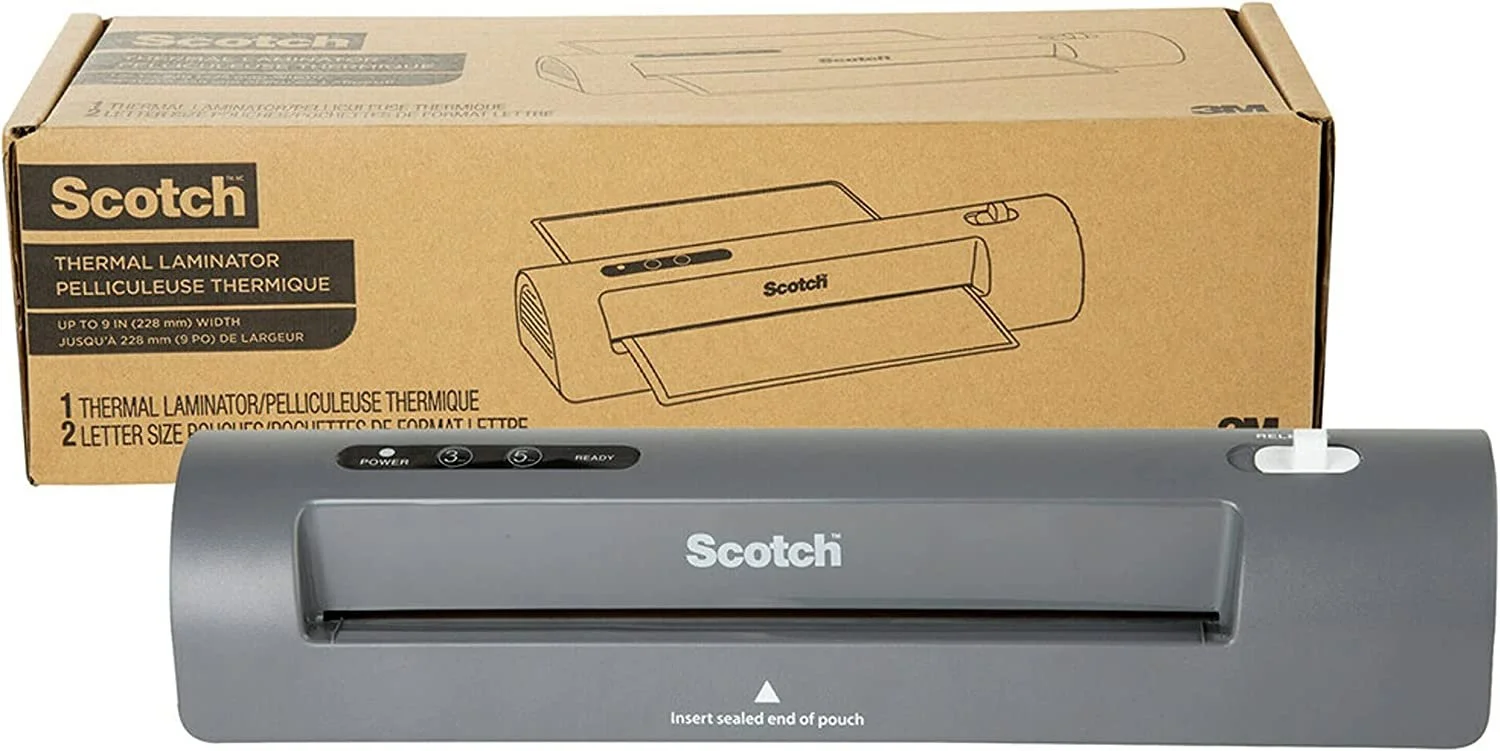
Laminator.
Scissors.
Double-sided tape.
Step 1: Paint the Toolbox.
If you want to spray paint the toolbox to match your classroom, you should do that first. But this step is completely optional. I bought a white toolbox, so I am going to skip this step for my classroom. At least for now. The great thing about paint is that I can always decide to switch it up later.
Step 2: Make the Drawer Labels.
The next step is to make your labels. I made labels in both drawer sizes and with numerous materials so that I could switch them out at any time if I find the need for new supplies. I printed the labels on card stock, cut them out, and then laminated them.
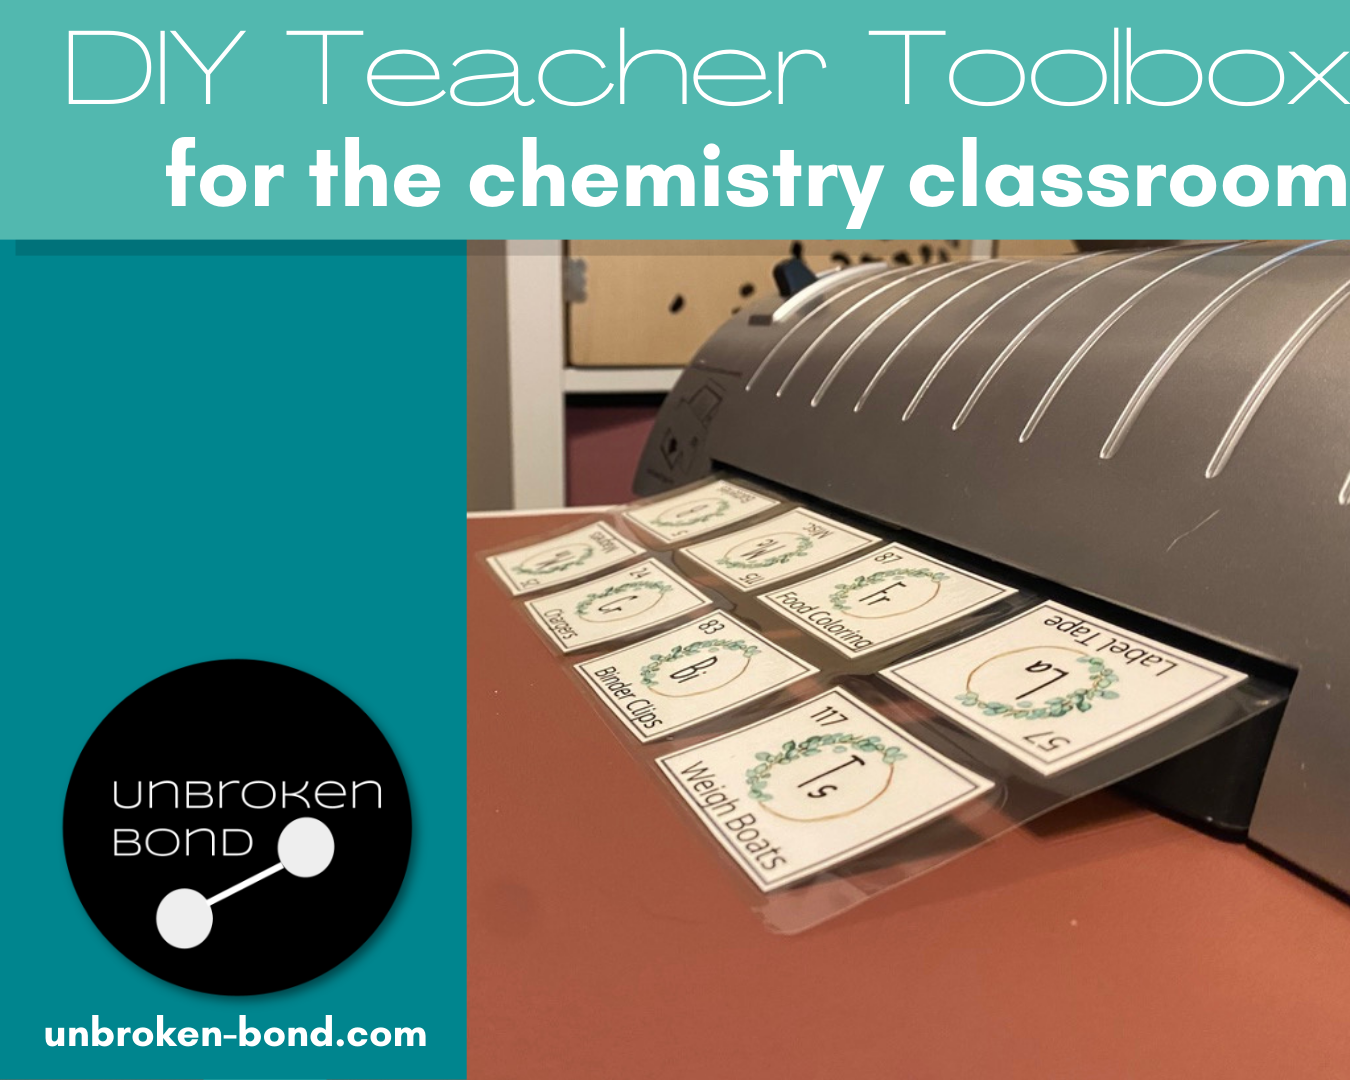
I love my at-home laminator! I love it so much, I’ve got one at school and at home lol. It is perfect for classroom projects such as this. If you don’t have an at-home laminator, I highly recommend it. And since they are more main-stream now, they can be found at decent prices that won’t break the bank.
Step 3: Attach the Labels.
Once all the labels are cut out, you will need to attach them to the drawers. You can attach either to the front of the drawer (on the outside) or inside the drawer. This is more a personal preference. I recommend trying a label out in both positions to see what you like best. Since the labels are laminated, you can tape them to the inside, and then move them if you decide you don’t like the way it looks. Affix your labels in the position of your choosing using double-sided tape.
If you want to grab these labels for your own classroom, you can get them here! Pin the image below to revisit this post later!

Thanks so much for reading! I hope you found this post useful. Will you be putting together your own teacher (student) toolbox for your classroom? Let me know on Instagram (@unbroken_bond) by sending me a DM or tagging me in your posts.
Happy teaching!


Chemistry Teacher Toolbox Labels
Grab these Chemistry Teacher Toolbox Labels for your classroom today!
Affiliate Links.
Disclaimer-I make a small commission if you use these links to purchase an item at no cost to you.


Four Self-Checking Activities for Chemistry and AP Chemistry.
Join my email list and receive FOUR self-checking Activities and/or Templates for Chemistry and AP Chemistry!