7 Chemistry Lab Management Tips to Save Time and Reduce Chaos
Running labs in a high school chemistry classroom can get hectic, especially when multiple reagents, pieces of equipment, and procedures are involved. Add in a large class or several sections of chemistry and AP Chemistry, and even a well-planned lab can become a little chaotic.
Over the years, I’ve found that a few simple chemistry lab management strategies can make a big difference. From organizing reagents to helping students work more independently, small changes can save time, reduce confusion, and make lab days run more smoothly.
Here are seven practical chemistry lab tips that have helped me streamline lab activities and spend less time answering the same questions over and over again.
Small Table-Top Bottles
If you’re like me, you might prepare a 500 mL or 1000 mL of a solution to use it for more than one section. But then all of that solution is in one bottle. With a small class, that might not be a problem. They could just come up to the front or wherever you have it stationed and take turns getting the solution. But taking turns takes time. Larger classes may be slowed down if there is only one bottle they are grabbing solutions from. Don’t be afraid to portion the solution into smaller bottles that can go at each table or station. I even used well plates (spot plates) this year to speed things up in a large AP Chemistry section that just runs longer in lab.
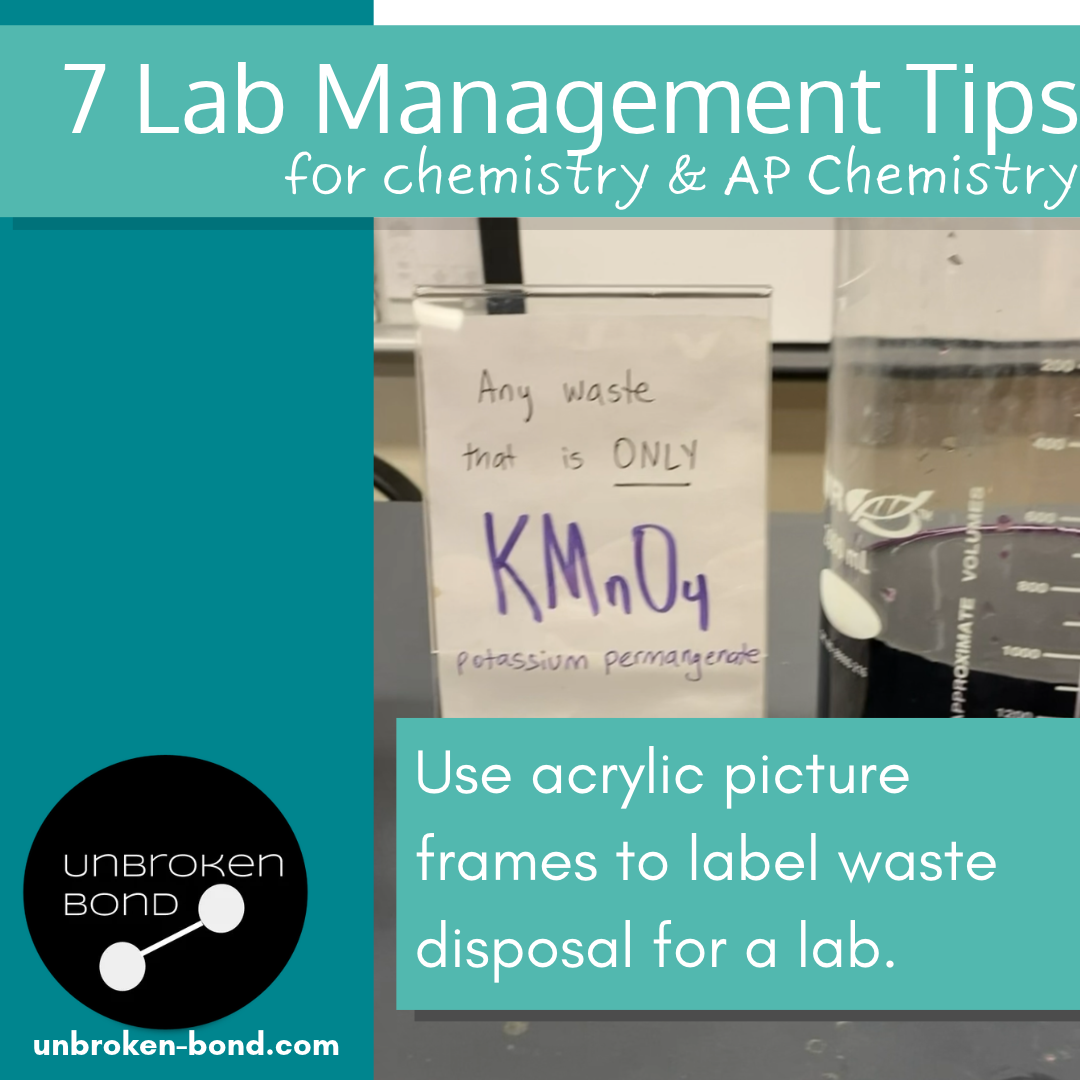
Clear Plastic Picture Frames for Swappable Waste Labels
Lab groups and pairs finish at different times. You’ve always got someone asking you where to put their waste while some other group is still in the thick of their lab. I really dislike repeating myself as each individual group finishes.
An easy solution is to mention the waste at the beginning, and then label a station where any waste that can’t go down the drain or in the trash should be placed. For example, an AP Chemistry lab during the year has permanganate waste and acidic waste that has to be managed according to our school’s chemical waste procedures.
I put large beakers on the front where they are easily accessible, and then I put a label in the clear picture frame next to each beaker. The label clearly indicates what solution should be in each beaker. It’s even better if you can color-code the sign based on the color of the waste. Just another layer that students can visually check before dumping their waste.
Quick Reference Guides
If you have a task students will be repeating throughout a lab (or maybe a task at a particular station), quick reference guides can be helpful. These guides will foster student independence and lower the amount of questions you get asked repeatedly. Some guides that could be helpful might include:
How to read a meniscus on a graduated cylinder or burette
Pictures of glassware and their purpose
How to measure on a ruler
How to set up a gravity filtration system
How to use certain probes or sensors (LabQuest, etc.)
Instead of multiple pairs asking you repeatedly, have them check the quick reference guide.
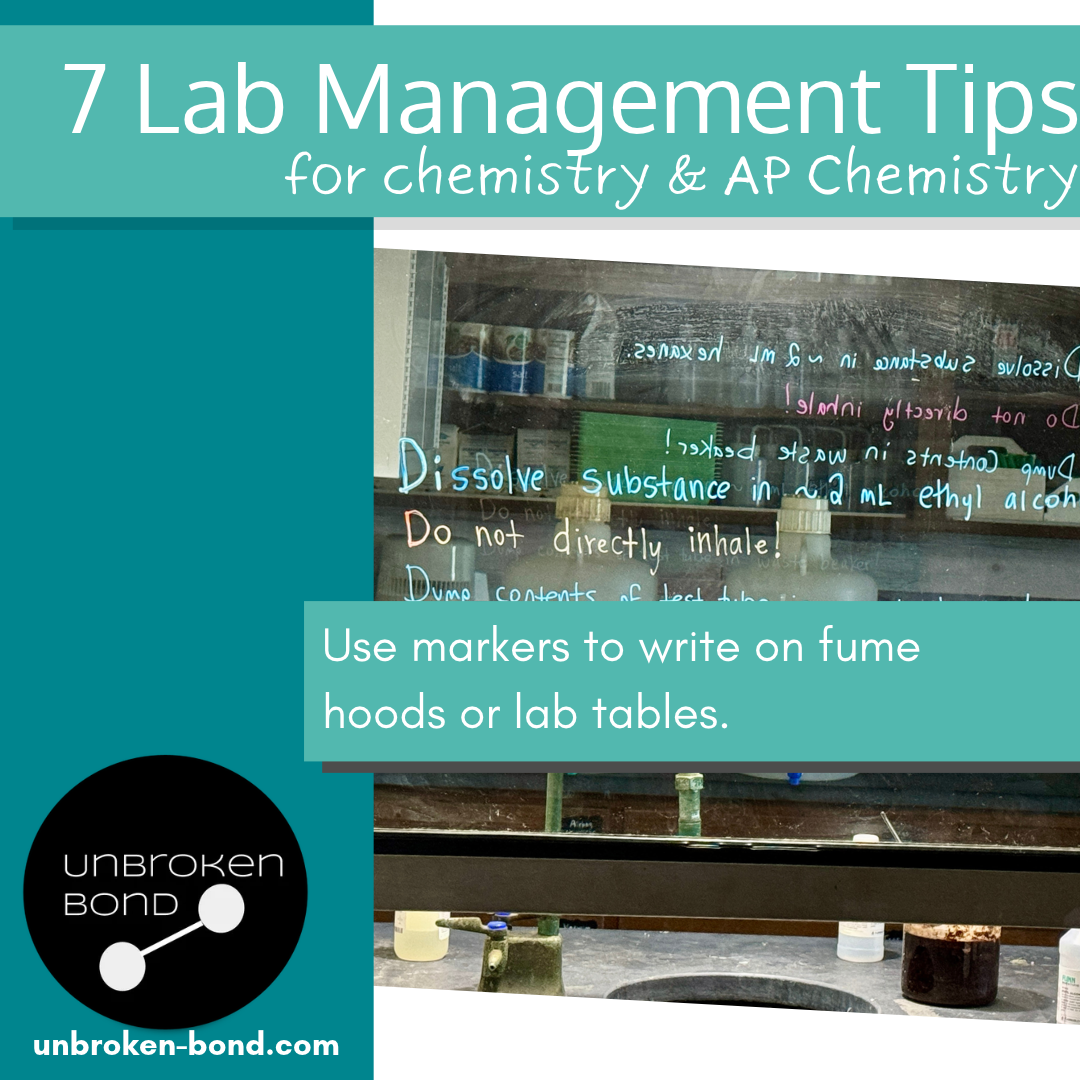
Use Markers on Fume Hoods
If you have any labs that require students to complete a series of tasks in the fume hood, you can write instructions or waste directions on the fume hood! Window markers and chalk markers make it easy to write on the glass of your fume hood. You can write a quick procedure on the glass or write reminders about waste. Students can reference this as you are around the lab room working with other lab groups. With all makers, be sure to check compatibility with the surface you plan to use.
Use Markers on Lab Tables
Speaking of markers, did you know that many lab tables are conducive to chalk markers? If you have the need to label something or record some data that doesn’t need to go on a formal lab paper, chalk markers are quick and easy. For example, in a chromatography lab recently, we were testing the separation of a mixture in NaCl and in isopropyl alcohol. To keep track of which flask held which solvent, students could write that information on the table with chalk makers. With all makers, be sure to check compatibility with the surface you plan to use.
Color Code Glassware and Pipettes
If you’ve got a class that might easily mix up what goes with what, try using colored tape to match. For example, if you’ve got a class using one reagent bottle and specific pipettes with that bottle, put red tape on the bottle and on the pipettes. That way, they can match the color and the risk of cross-contamination goes down. This works well if you don’t have a lot of glassware or equipment and you’ve got a class with a high risk of contamination.
Use a Chemistry Lab Cleanup Checklist
We all know that rush of groups trying to get everything cleaner up at the end of the block. Try setting a timer for the last 5 or 10 minutes of class to do a lab audit. This might include:
Making sure all waste goes to the appropriate spot
All glassware and equipment is cleaned and put back in its original spot
The lab table or station is properly wiped down before leaving
To make this even more seamless, give each pair or group a checklist they have to complete before ending lab.
Make Chemistry Lab Days Run More Smoothly
Managing chemistry labs doesn’t have to mean constantly running around the classroom answering questions, locating supplies, or reminding students where things belong. Sometimes the smallest changes make the biggest difference!
You don’t need to implement all seven ideas at once. Pick one or two that would make the biggest difference in your classroom and give them a try during your next lab.
If you need tips for organizing and using lab drawers, check out this blog post.
What is one lab management trick you swear by? I’d love to hear what works in your chemistry classroom! Share your favorite tip over on Instagram. Thanks for reading!